
Easiest Way to Sand Drywall (Without Making a Huge Mess)
Sanding drywall is one of those tasks most of us don’t look forward to.
It’s dusty, messy, and if we rush it, the results show immediately — uneven walls, visible seams, and rough patches that stand out once the paint goes on.
But here’s the good news: there is an easier way to sand drywall, and it doesn’t have to turn the entire room into a cloud of dust.
With the right approach and a few simple techniques, we can get smooth, professional-looking results without overcomplicating the process.
Why Drywall Sanding Feels So Difficult
Before we jump into solutions, it helps to understand why drywall sanding is tricky in the first place.
Drywall compound (also called joint compound) is:
- Soft when dry
- Easy to over-sand
- Very dusty
- Sensitive to uneven pressure
That combination makes it easy to create dips, scratches, or visible edges if we’re not careful.
The goal isn’t to sand everything flat — it’s to blend the seams smoothly into the wall.
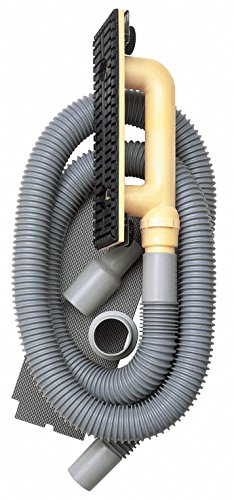
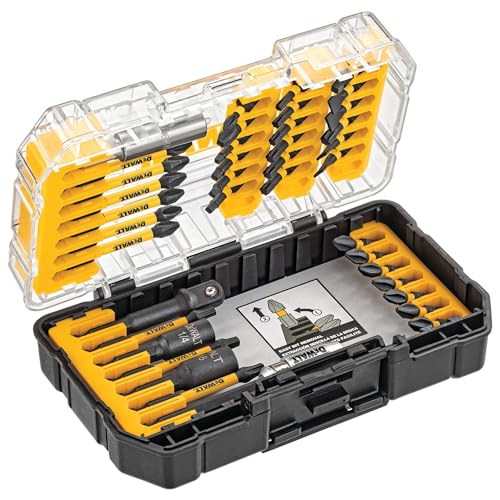
- Drywall hand sander attaches to any wet/dry vacuum for sanding without dust throughout your worksite
- Protects furniture, floors, electronics-and your lungs-from invasive drywall dust
- EasyClamp system allows sanding screen replacement quickly and easily
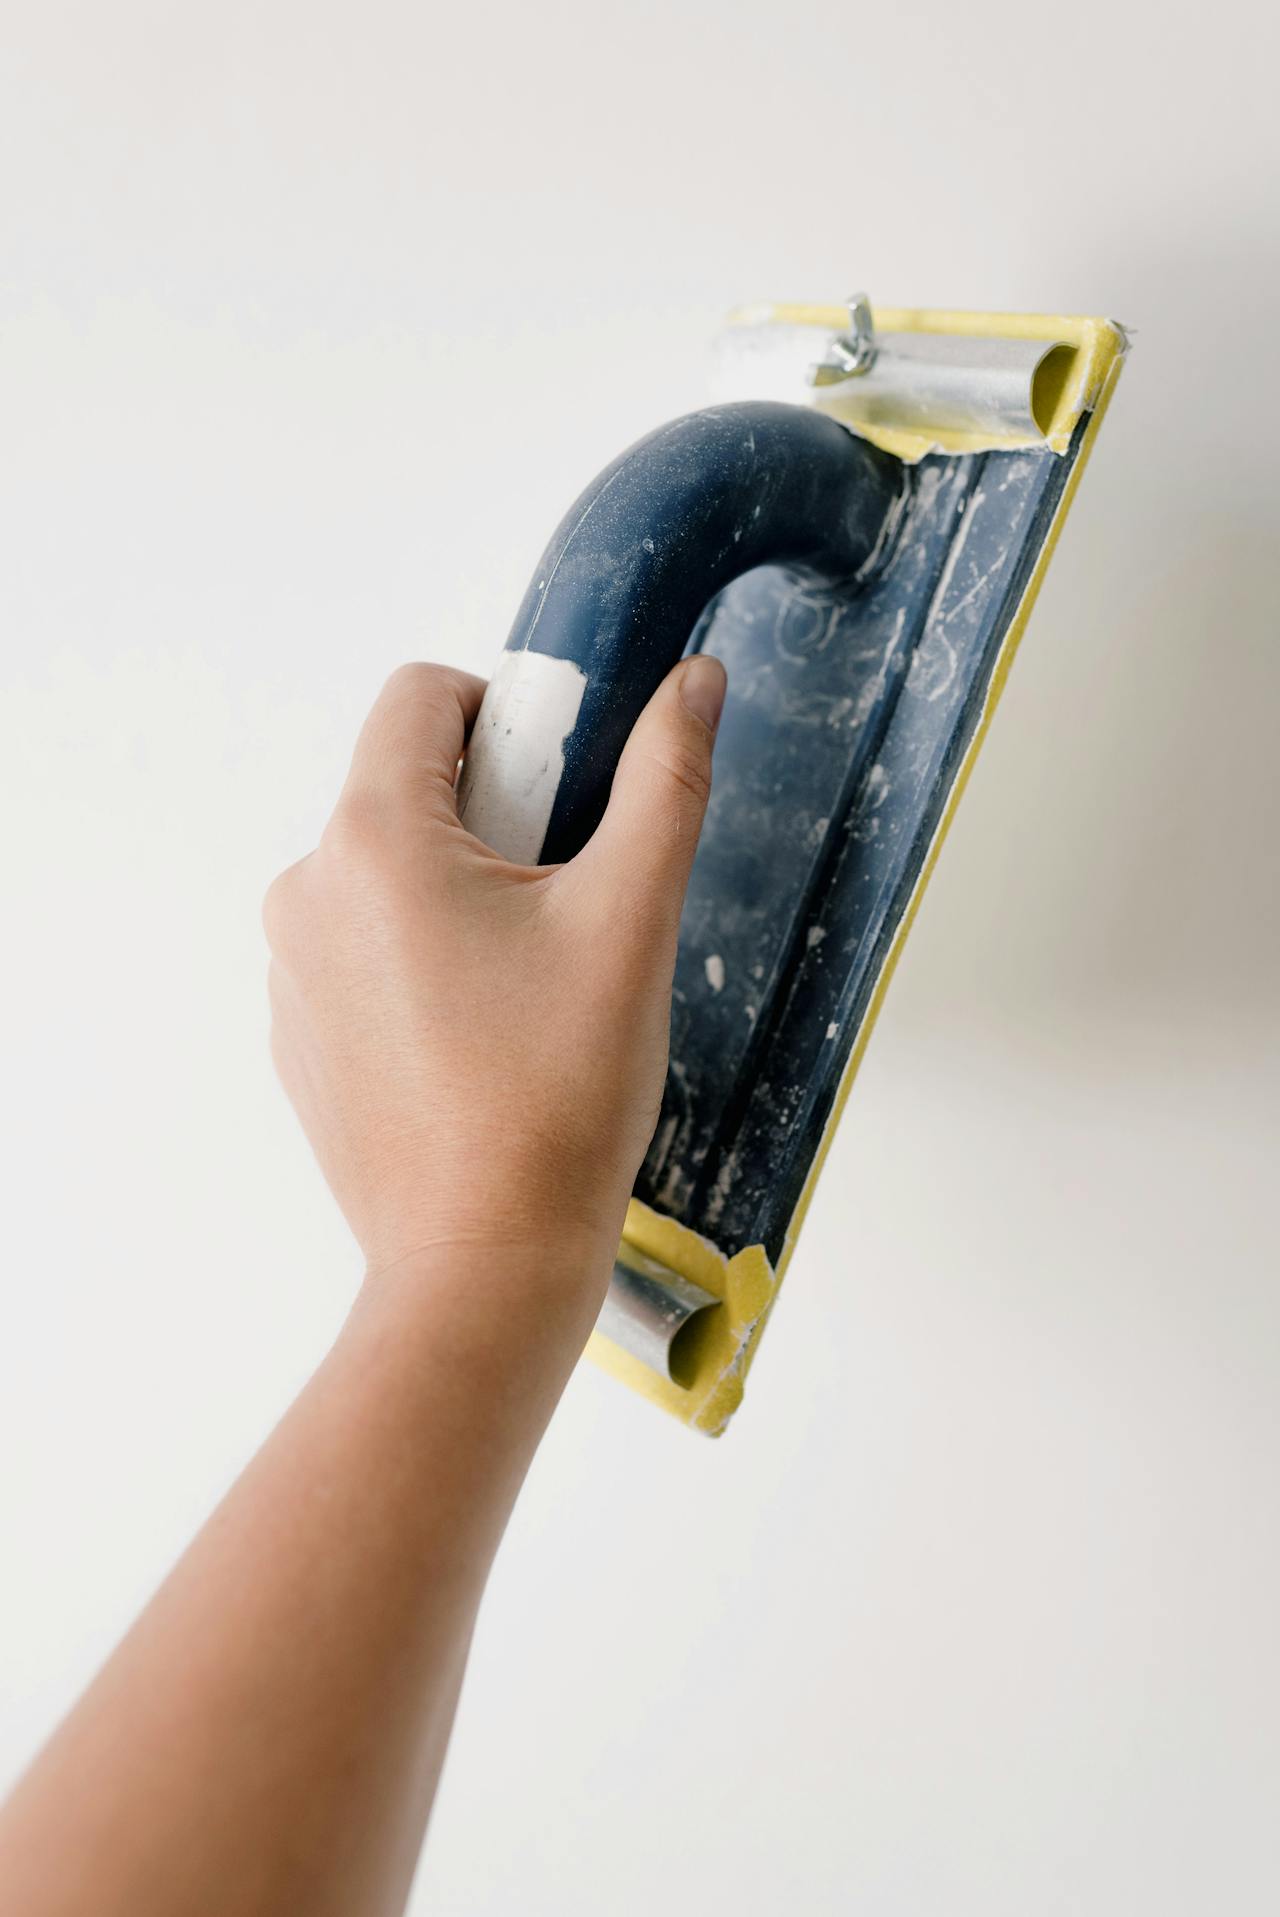
The Easiest Method: Light Sanding With the Right Tool
The simplest and most beginner-friendly method is using a drywall sanding sponge or sanding block.
Why this works well:
- It’s easy to control
- Less aggressive than power tools
- Reduces the risk of over-sanding
- Works well on corners and seams
We don’t need heavy equipment for most drywall jobs. A sanding sponge gives us precision and control.
Step-by-Step: The Easy Way to Sand Drywall
1. Let the Compound Fully Dry
This step is often rushed.
If the compound is even slightly damp, sanding will:
- Smear instead of smooth
- Clog the sanding surface
- Create uneven patches
Drywall compound should feel completely dry and firm before sanding.
2. Use Light Pressure
This is the biggest mistake beginners make.
We should:
- Hold the sanding block flat
- Apply gentle, even pressure
- Let the abrasive surface do the work
Pressing too hard removes too much material and creates dips.
3. Focus on Edges and Seams
We don’t need to sand the entire wall.
Instead, we focus on:
- Joint edges
- Screw patches
- Raised areas
The goal is to blend transitions, not flatten everything.
4. Check With Your Hand, Not Just Your Eyes
Drywall imperfections are easier to feel than to see.
Run your hand lightly across the surface.
If it feels smooth, it will likely look smooth once painted.

How to Reduce Dust (This Makes a Huge Difference)
Drywall dust is one of the biggest frustrations.
Here’s how we can minimize it:
Use a Damp Sanding Sponge
Important:
- The sponge should be damp, not wet
- Too much water can damage the compound
This method is especially useful for small repairs and touch-ups.
Sand in Stages
Instead of sanding everything at once:
- Do a light pass
- Clean the area
- Check results
- Sand again if needed
This prevents over-sanding and keeps dust manageable.
Keep the Room Controlled
We can also:
- Close doors to limit dust spread
- Cover floors with drop cloths
- Open windows for ventilation
Small steps make cleanup much easier.
Common Mistakes to Avoid
Let’s avoid the issues that cause uneven finishes.
Over-Sanding
Trying to make everything perfectly flat often leads to visible dips.
Using Coarse Grit
Drywall needs fine grit sanding surfaces.
Coarse grit scratches the surface and makes finishing harder.
Skipping Between Coats
Drywall finishing usually involves multiple thin layers.
Light sanding between coats produces the best results.
Rushing the Process
Drywall work rewards patience.
Quick sanding usually creates more work later.
When a Pole Sander Helps
For larger areas, a pole sander can make things easier.
It allows us to:
- Reach ceilings
- Maintain consistent pressure
- Cover large surfaces faster
However, it requires a bit more control, so for beginners, starting with a hand tool is often easier.
A Simple Trick for Better Results
Use a side light or flashlight at an angle across the wall.
This creates shadows that highlight:
- Bumps
- Lines
- Uneven areas
It’s one of the easiest ways to spot imperfections before painting.
Is Power Sanding Worth It?
For most DIY projects, not really.
Power sanders:
- Create more dust
- Remove material quickly
- Increase the risk of mistakes
They are useful for large-scale work, but for typical home projects, manual sanding is often easier and safer.
Conclusion
Easiest Way to Sand Drywall…
- Use a sanding sponge or block for better control
- Apply light pressure — don’t force it
- Focus on seams, not entire surfaces
- Use a damp sponge to reduce dust
- Check smoothness by touch
- Sand between thin layers for best results
Sanding drywall doesn’t have to be a frustrating, dusty process.
When we slow down, use the right tools, and focus on blending rather than removing material, the results become much cleaner — and the job feels far more manageable.
And once we get it right, the final painted wall will look smooth, even, and professionally finished.
