
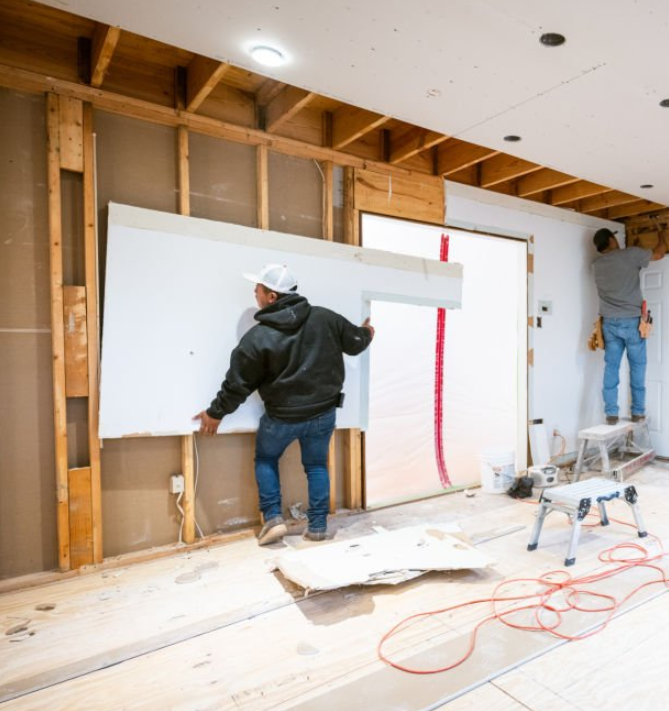
No Hammer? No Problem: How to Remove Nails the Smart Way
We’ve all had that moment.
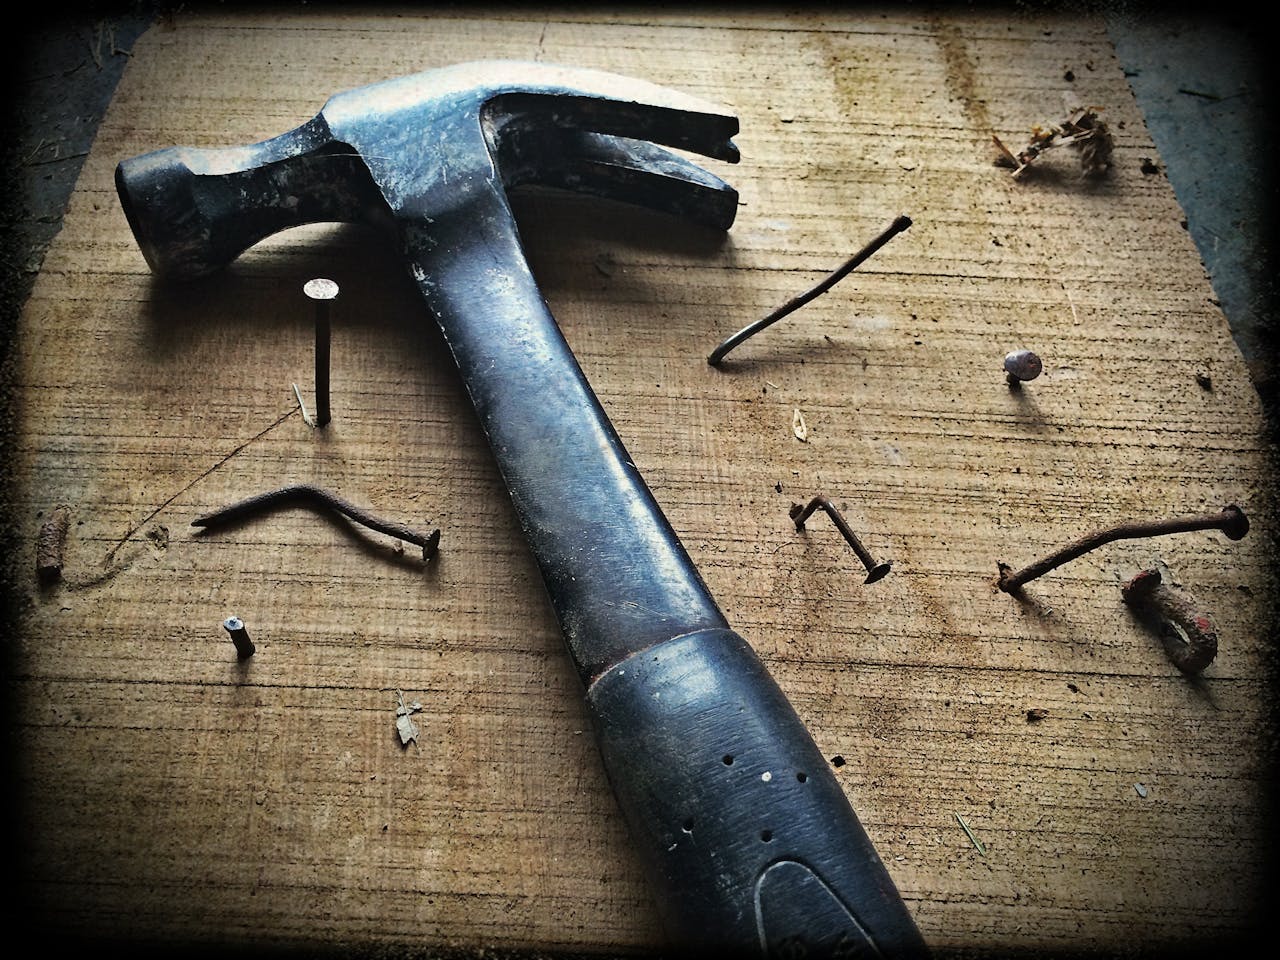
We’re halfway through a DIY project, staring at a stubborn nail sticking out of wood — and the hammer is nowhere to be found.
So we ask ourselves:
Can we remove nails without a hammer?
Yes, we absolutely can.
In fact, depending on the situation, a hammer isn’t always the best tool for nail removal anyway. There are several safe, practical ways to pull nails using common household tools — and sometimes with better control than a traditional claw hammer.
Let’s walk through what works, when to use each method, and how to avoid damaging the surface underneath.
First: What Kind of Nail Are We Dealing With?
Before we grab anything, we need to look at the nail.
Is it:
-
Protruding with a visible head?
-
Flush with the surface?
-
Headless (like a finish nail)?
-
Rusted or bent?
-
Embedded in hardwood or softwood?
The removal method depends on how accessible the nail head is.
The more visible the head, the easier the process.
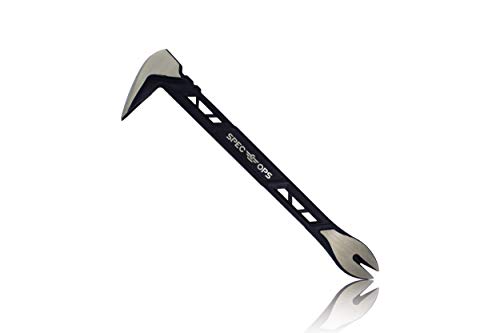
- Up to 20% lighter, carbon-steel design for sniper control
- Dual strike zones for rapid nail extraction
- Precision-honed claws remove embedded or headless nails with minimal damage
Method 1: Use Pliers (The Simplest Alternative)
This is always the first decision. Different materials require different bit designs.
If we can grip the nail head, pliers are often the easiest solution.
Here’s how we do it:
-
Grip the nail as close to the wood surface as possible.
-
Twist gently while pulling upward.
-
Rock the pliers side to side if needed.
The twisting motion helps loosen the nail’s grip on the wood fibers.
Tip: Place a thin piece of cardboard or scrap wood under the pliers to prevent denting the surface.
Locking pliers (like adjustable locking grips) provide even better leverage.
Method 2: Pry Bar or Flat Bar
A small pry bar works very similarly to a hammer claw — sometimes even better.
Steps:
-
Slide the flat end under the nail head.
-
Use a block of wood underneath for leverage.
-
Apply steady pressure.
The wooden block prevents surface damage and gives us extra lift.
This method works well for framing nails or longer nails embedded deeply.
Method 3: Use a Screwdriver for Leverage
If we don’t have pliers or a pry bar nearby, a sturdy flathead screwdriver can help.
We can:
-
Slide it under the nail head.
-
Gently pry upward.
-
Use another object underneath for leverage.
This isn’t ideal for heavy-duty nails, but it works surprisingly well for small ones.
Just avoid cheap, thin screwdrivers — they can bend.
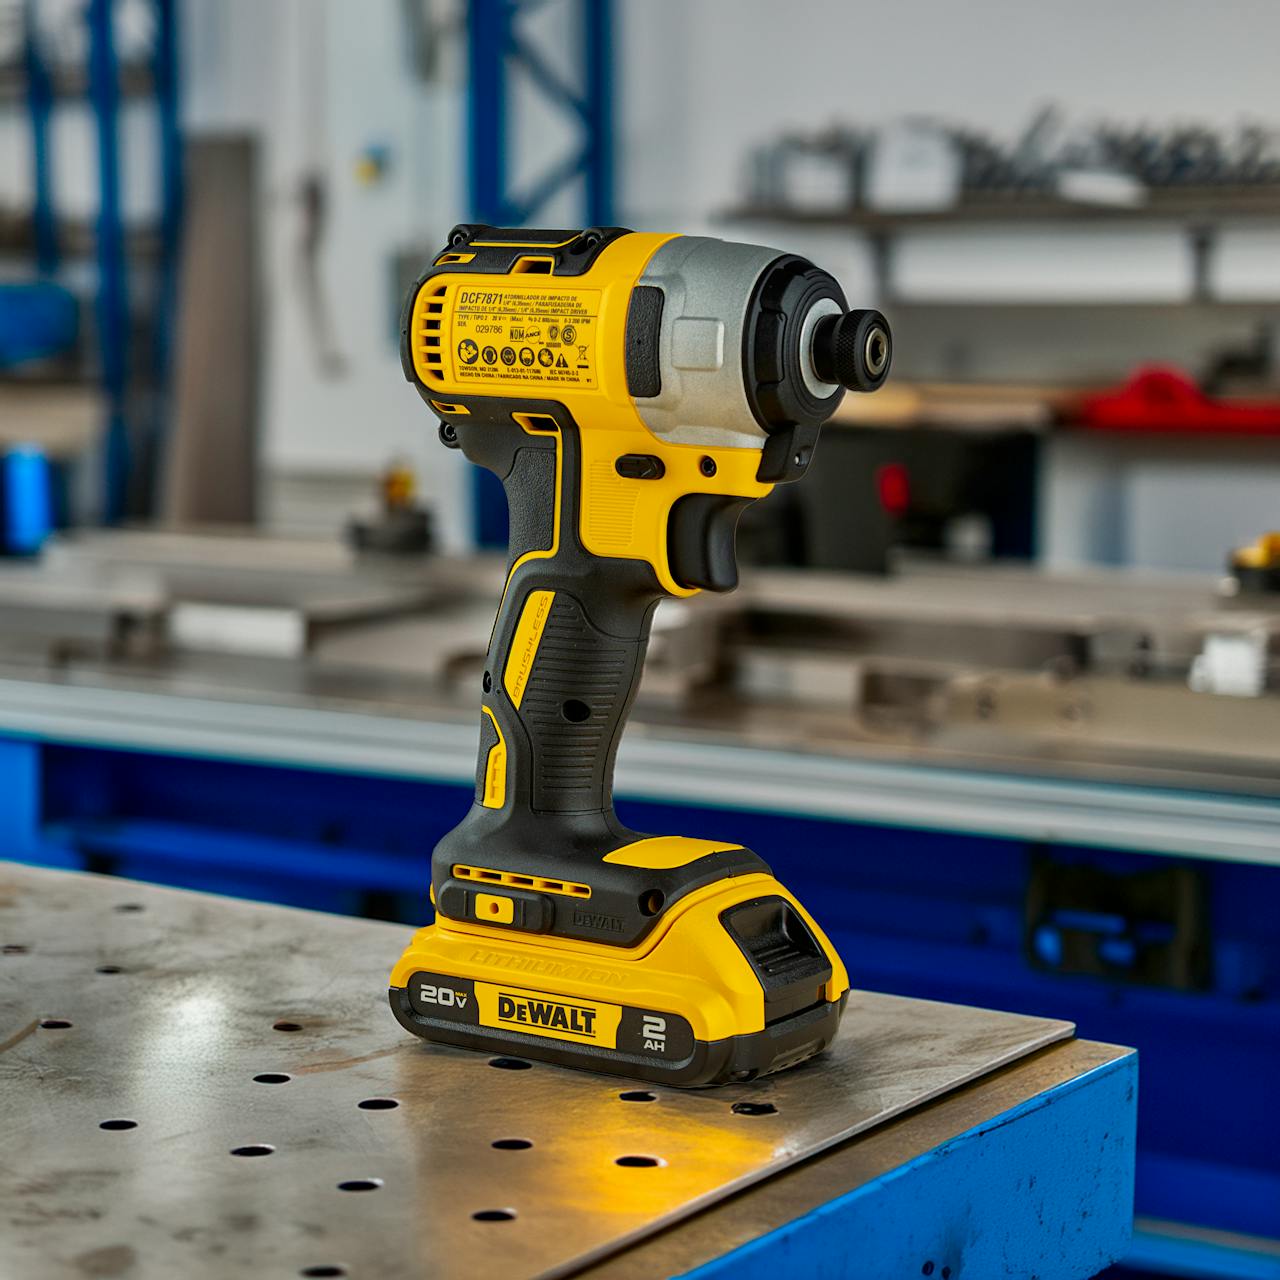
Method 4: Use a Drill (When the Nail Is Stubborn)
Sometimes nails are driven so deep that pulling alone isn’t enough.
If the nail is:
-
Thin
-
Partially exposed
-
Not too thick
We can try gripping it with locking pliers and using a drill to slowly rotate it out while pulling.
This method works best with small finish nails.
However, we need to go slowly. Sudden force can snap the nail.
What If the Nail Head Is Flush With the Wood?
This is where things get trickier.
If there’s nothing to grip:
Option 1: Dig Around the Head Slightly
Use a utility knife or chisel to carefully expose more of the nail head so pliers can grip it.
Option 2: Drive It Through
If the board is being removed anyway, sometimes it’s easier to drive the nail all the way through instead of pulling it out.
That’s often safer and faster during demolition.
How to Avoid Damaging the Wood
Removing nails can easily leave dents, chips, or splintered wood.
To protect the surface:
-
Always use a spacer (cardboard, scrap wood, or a thin block).
-
Pull slowly, not suddenly.
-
Twist gently to loosen fibers.
-
Avoid aggressive prying near edges.
Softwood dents more easily than hardwood, so extra care is needed.
Common Mistakes to Avoid
Let’s save ourselves frustration.
Pulling Straight Up Too Fast
This can snap the nail or tear wood fibers.
Skipping Protection Under the Tool
Bare metal tools pressed against wood will leave dents.
Using the Wrong Tool for the Nail Size
Tiny pliers won’t grip thick framing nails effectively.
Forgetting About Rust
Rusted nails may break during removal. In those cases, cutting and sanding smooth may be safer.
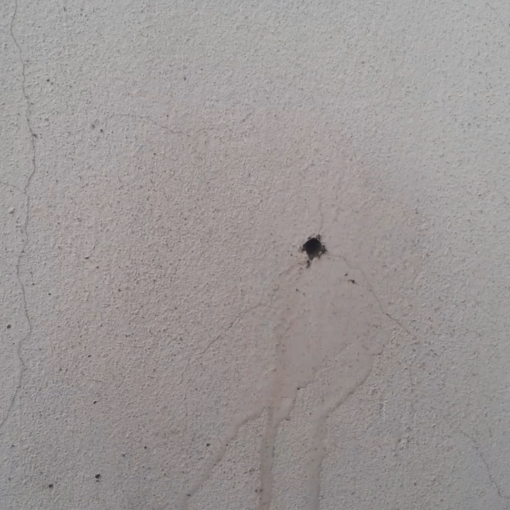
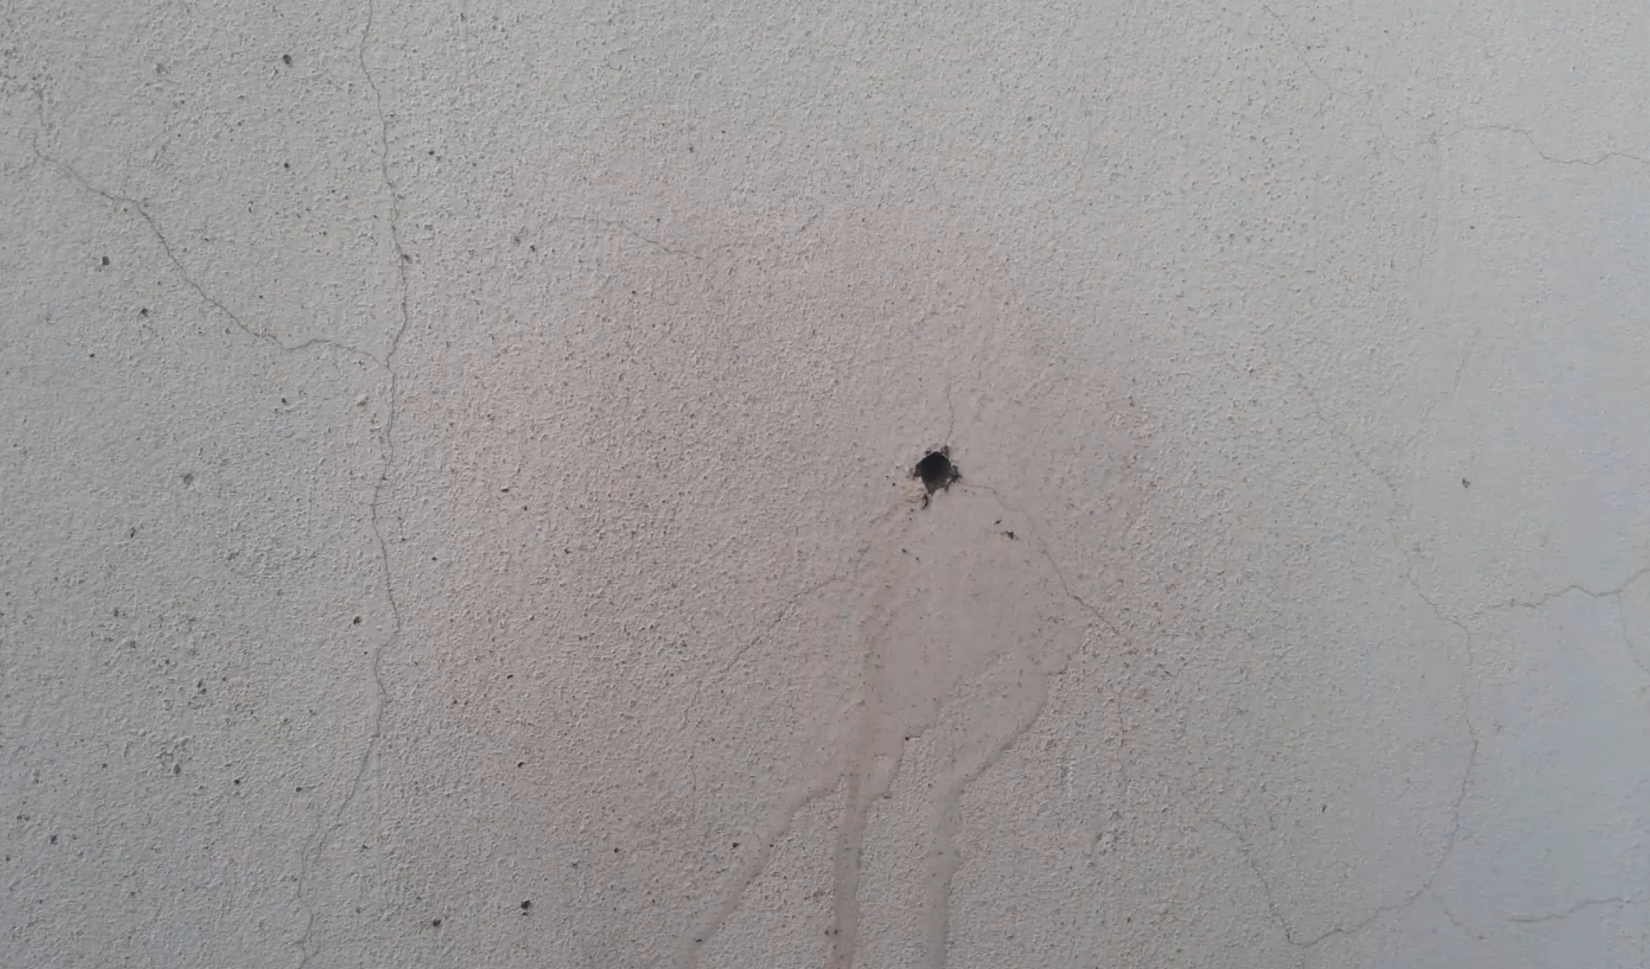
What About Nails in Drywall?
Drywall nails are easier — but the surface is fragile.
If we’re removing nails from drywall:
-
Use pliers.
-
Wiggle gently.
-
Avoid prying hard against the surface.
After removal, small holes can be patched with lightweight filler.
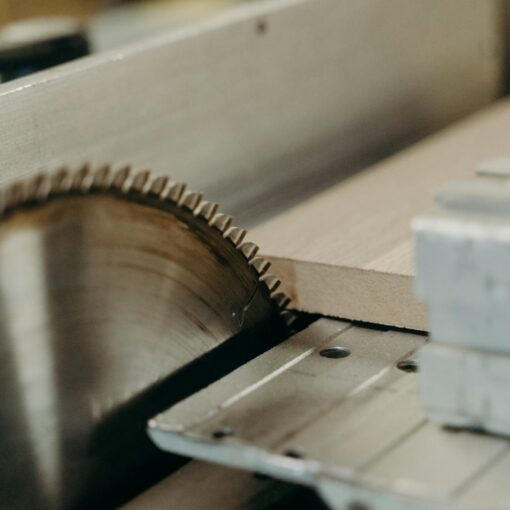
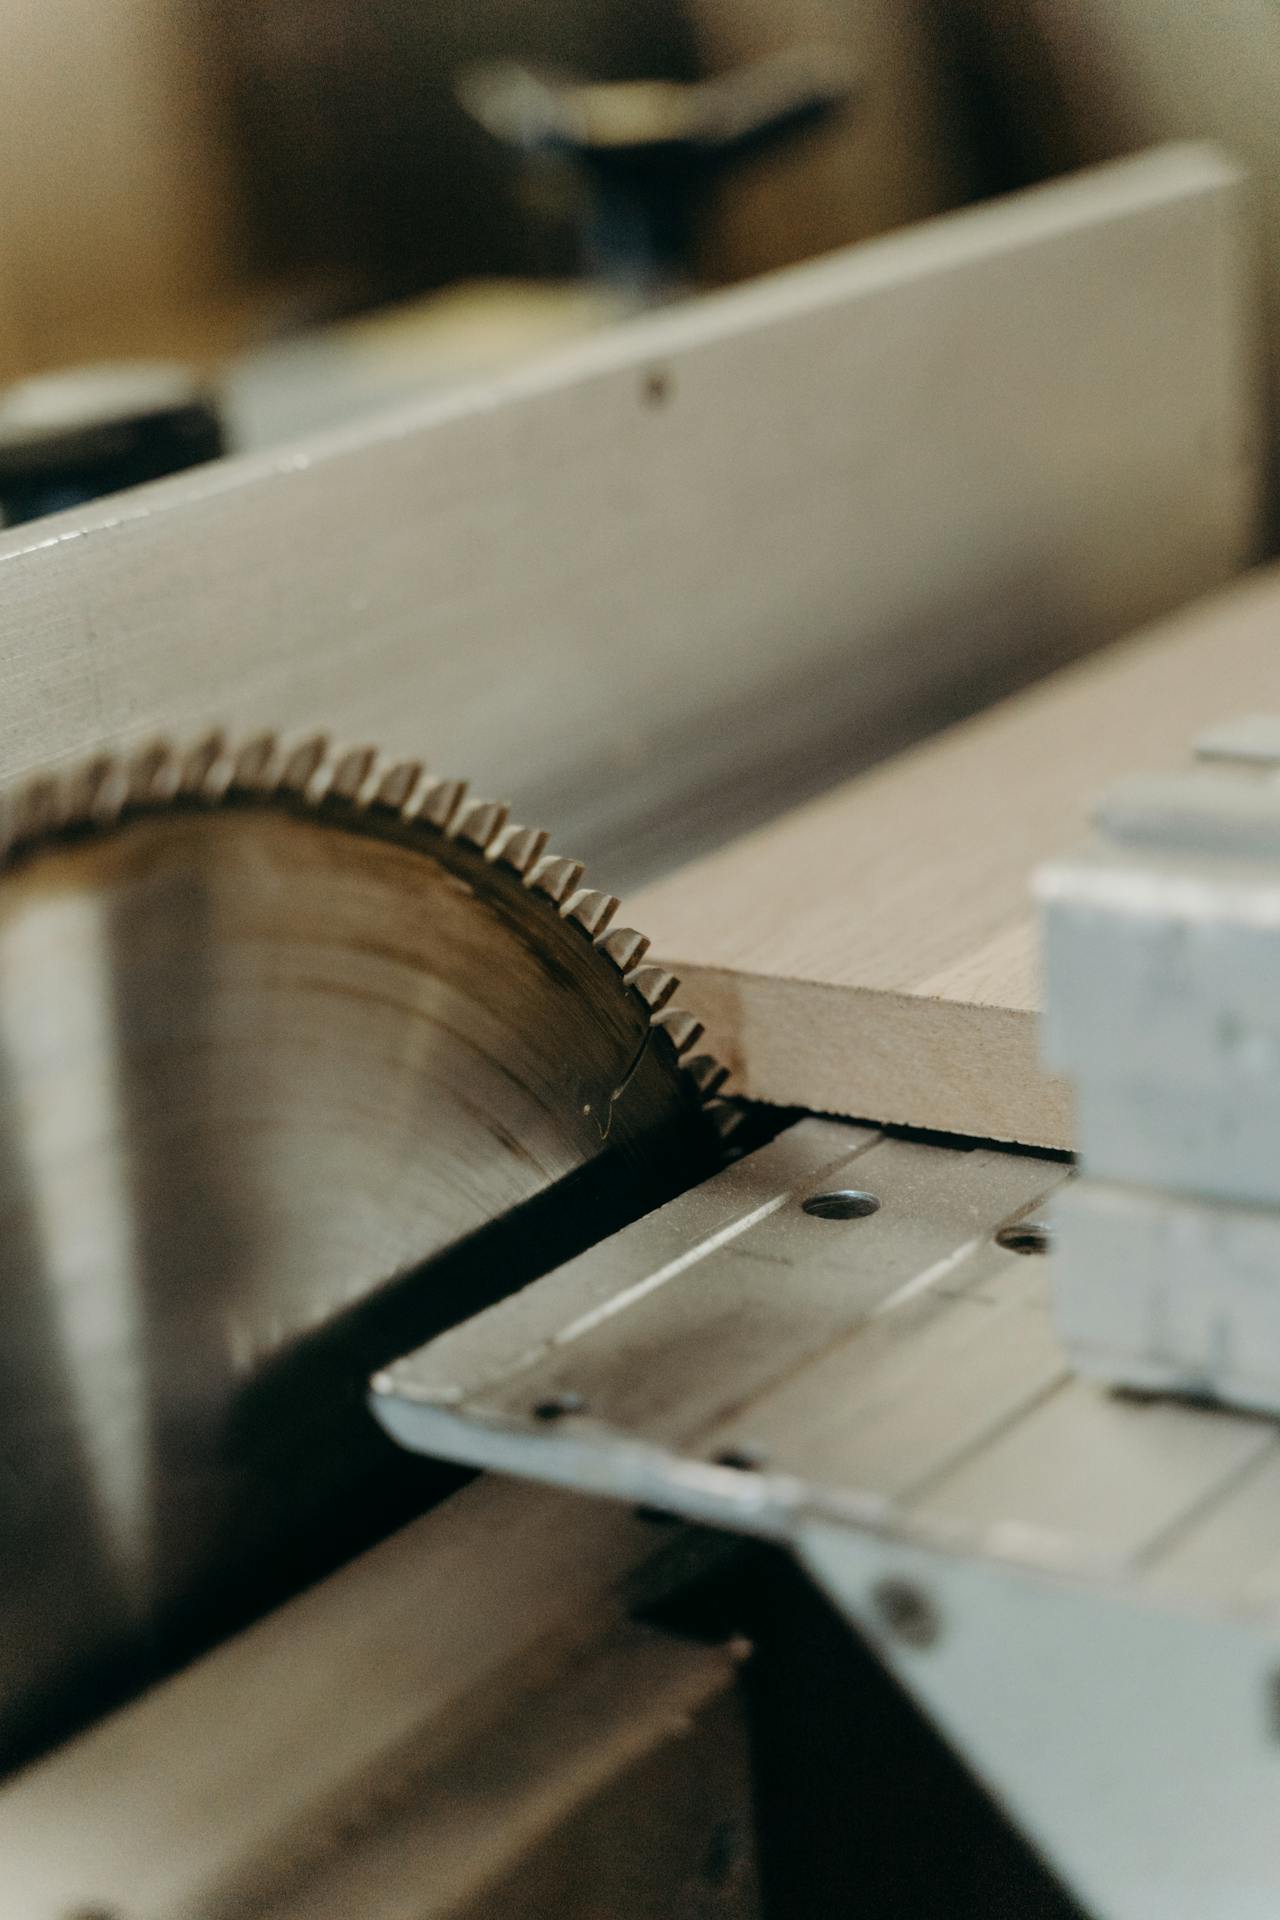
When It’s Better to Cut the Nail Instead
Sometimes pulling isn’t the smartest move.
If the nail is:
-
Deeply embedded
-
Bent
-
Holding structural pieces
It may be better to cut it flush using a multi-tool or metal-cutting tool.
Then we can:
-
Sand the surface
-
Fill the hole if needed
Safety and surface protection come first.


