

How to Clean Drill Bits the Right Way (So They Last Much Longer)
Drill bits are one of those tools we tend to overlook.
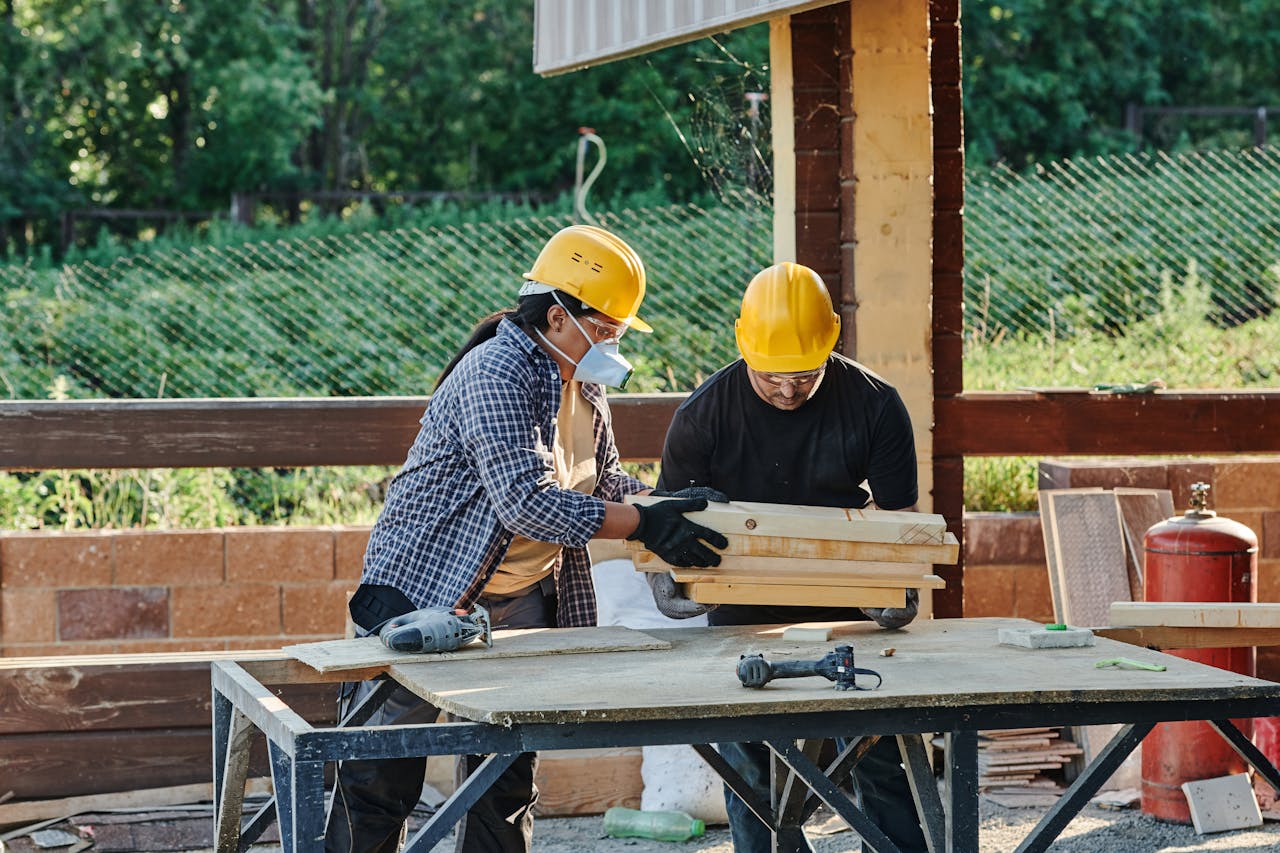
We use them repeatedly—drilling into wood, metal, plastic, or masonry—then toss them back into the toolbox without much thought. Over time, though, they collect dust, resin, oil, and metal debris. That buildup can reduce cutting performance and even shorten the life of the bit.
The good news is that cleaning drill bits is quick and simple, and it can noticeably improve how they perform.
Let’s go through the safest way to clean drill bits, what tools work best, and how to keep them in good condition for future projects.
Why Drill Bits Get Dirty
Before cleaning them, it helps to understand what’s actually building up on the surface.
Common contaminants include:
-
Wood resin and sap from drilling softwood
-
Metal shavings from steel or aluminum
-
Dust and debris from drywall or masonry
-
Oil residue from lubricants
-
Rust from moisture exposure
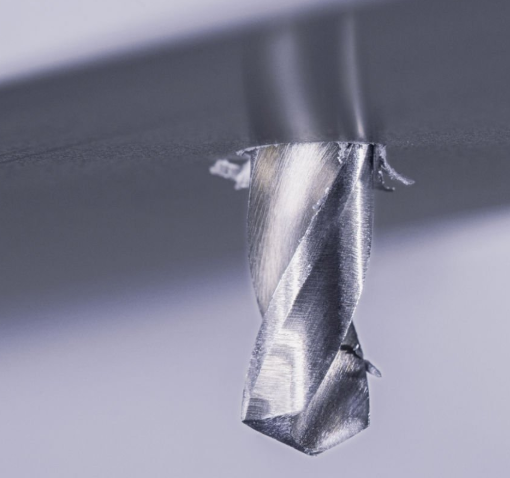
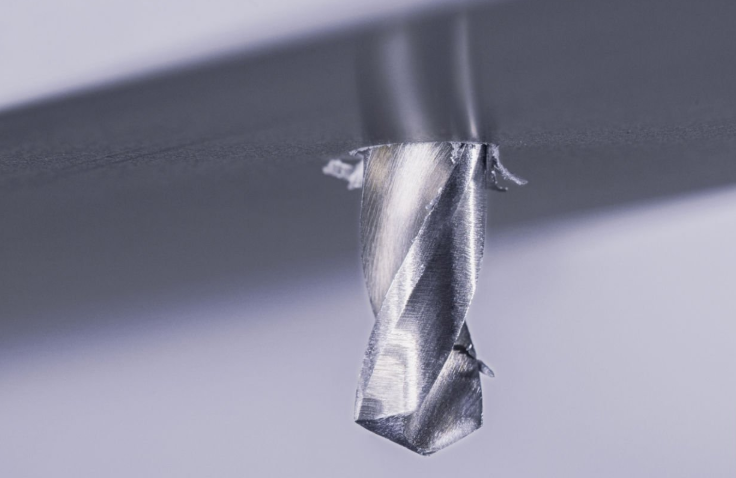
These materials can stick to the flutes of the drill bit, making it harder for the bit to clear debris while drilling.
When that happens, the bit cuts less efficiently and heats up faster.
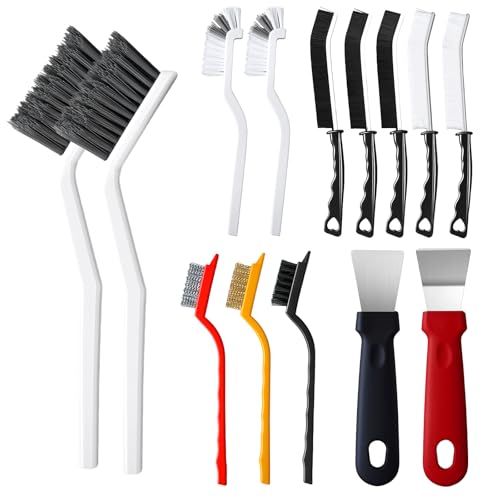
- GREAT CLEANING ACCESSORIES: Do you struggle with various hard to clean corners in your home? 14pcs crevice cleaning brush set can help you solve the problem easily. This complete cleaning solution includes 2 V-shaped grout cleaner brushes for tile grout, 5 crevice brushes for tight spaces, 2 triangle cleaning brush for bottles, 2 scrapers for quick wipe-downs, and 3 wire brushes for stubborn stains.
- MULTIFUNCTIONAL CLEANING SUPPLIES: 14pcs detailing brush set helps you deep clean hard-to-reach areas your vacuum and mop can't reach - perfectly cleans kitchen sinks, bathroom tiles, grout lines, window tracks, blender bottles, coffee cups and other tricky spots in your home. This scrub brush set is the perfect helper for your deep cleaning home.
- PROTECT YOUR HOME: This gap cleaning set features specially designed brushes with different bristle materials to safely clean all surfaces without damage. The grout, crevice and triangle brushes gently clean hard surfaces like tiles, floors, sinks and bathtubs without scratching, while brass brush polish metal surfaces, stainless steel brush remove rust, and nylon brush for delicate surfaces.
Basic Tools for Cleaning Drill Bits
Most of the time we don’t need anything fancy. A few simple items are enough.
Useful cleaning tools include:
-
A small wire brush or stiff nylon brush
-
Mild dish soap or degreasing cleaner
-
Warm water
-
A cloth or shop towel
-
Fine steel wool for rust removal
For heavier buildup, a small container for soaking can also help.
Step-by-Step: Cleaning Drill Bits
Here’s a simple method that works for most types of drill bits.
1. Remove Loose Debris
Start by brushing off any loose material.
A small wire brush works well for removing:
-
Metal shavings
-
Wood chips
-
Dust stuck in the flutes
Brush along the grooves of the bit so debris falls out easily.
2. Soak the Bits
Place the drill bits in a small container with warm water and mild soap.
Let them soak for 10–15 minutes. This helps loosen resin, oils, and dirt stuck to the surface.
For stubborn buildup, a degreasing solution can work even better.
3. Scrub the Flutes
After soaking, scrub the bits gently with a brush.
Focus on the spiral grooves, since this is where most debris collects.
We should avoid excessive force—just enough pressure to remove residue.
4. Rinse and Dry Thoroughly
Rinse the bits under clean water and dry them completely with a cloth.
Moisture left on steel drill bits can lead to rust, so drying them right away is important.
Some DIYers like to apply a very light coat of oil after cleaning to prevent corrosion.

Removing Rust From Drill Bits
If drill bits have been stored in a humid environment, rust may appear.
Light rust can often be removed with:
-
Fine steel wool
-
A wire brush
-
Rust-removal solution
Rub gently along the surface of the bit until the rust disappears. Once cleaned, wipe the bit dry and apply a light protective oil.
Cleaning Specialized Drill Bits
Different types of bits may require slightly different care.
Wood Drill Bits
These often accumulate sticky resin. Warm soapy water works well for removing it.
Metal Drill Bits
These may collect oily residue and metal particles. Degreasing cleaners help remove buildup.
Masonry Bits
These usually collect dust rather than sticky residue. A brush and compressed air often do the trick.
Cleaning methods are mostly the same, but understanding the type of debris helps.
Common Cleaning Mistakes to Avoid
Even a simple maintenance task can go wrong if we rush it.
Here are a few mistakes worth avoiding.
Using Harsh Chemicals
Strong industrial cleaners can damage coatings on certain drill bits.
Leaving Bits Wet
Water left on the bit can lead to rust within hours.
Scraping the Cutting Edges
We should avoid damaging the sharp edges while cleaning.
Ignoring Severely Worn Bits
Cleaning can improve performance, but it won’t fix a bit that’s already worn or dull.
How Often Should Drill Bits Be Cleaned?
There’s no strict rule, but it’s a good habit to clean them:
-
After heavy drilling projects
-
When resin or debris becomes visible
-
Before storing them for long periods
Regular cleaning prevents buildup and helps drill bits perform consistently.

Simple Storage Tips That Keep Bits Cleaner
Keeping drill bits organized also reduces dirt and corrosion.
Helpful storage habits include:
-
Storing bits in a dry case or organizer
-
Keeping them away from moisture
-
Separating them by size to avoid damage
-
Wiping them off before putting them away
Good storage can prevent many cleaning problems in the first place.
When Cleaning Isn’t Enough: How to Tell If a Drill Bit Needs Sharpening
Sometimes cleaning a drill bit improves performance — but not always.
If a bit is clean yet still struggles to cut, the problem may not be dirt or buildup. It may simply be dull.
Common signs that a drill bit needs sharpening include:
-
The bit squeals while drilling
-
It produces excessive heat
-
It creates powder instead of clean shavings
-
You need to apply much more pressure than usual
Sharp drill bits should cut smoothly with minimal force. If we find ourselves pushing hard on the drill, the cutting edges may already be worn.
In many cases, drill bits can be resharpened using a grinding tool or sharpening jig. For DIY users, however, replacing smaller inexpensive bits is often faster and more practical.
Understanding the difference between dirty bits and dull bits helps us decide whether cleaning will solve the problem — or if it’s time for sharpening or replacement.
Conclusion
How to Clean Drill Bits…
-
Brush away loose debris first.
-
Soak bits in warm soapy water for about 10–15 minutes.
-
Scrub the flutes gently with a brush.
-
Rinse and dry completely.
-
Remove rust with steel wool if needed.
-
Store bits in a dry place to prevent corrosion.
Cleaning drill bits doesn’t take long, but it makes a real difference. A clean bit cuts more smoothly, produces cleaner holes, and lasts much longer.
With just a few minutes of maintenance, we can keep our tools performing the way they were designed to.
