
Why Does My Drill Keep Stripping Screws?
If we’ve ever picked up a drill full of motivation, only to end up staring at a chewed-up screw head after a few seconds, we know how frustrating this problem can be. Stripped screws slow us down, damage materials, and can turn a simple DIY task into an exercise in patience.
The good news is this: most stripped screws are not caused by bad luck. They’re usually the result of a few common, fixable issues. In this article, we’ll walk through why drills strip screws so often, what’s really happening in those moments, and how we can avoid it next time.
This guide is written for everyday users—homeowners, renters, and DIY beginners—so we’ll keep things clear, practical, and easy to follow.
What Does “Stripping a Screw” Actually Mean?
Before solving the problem, it helps to understand it.
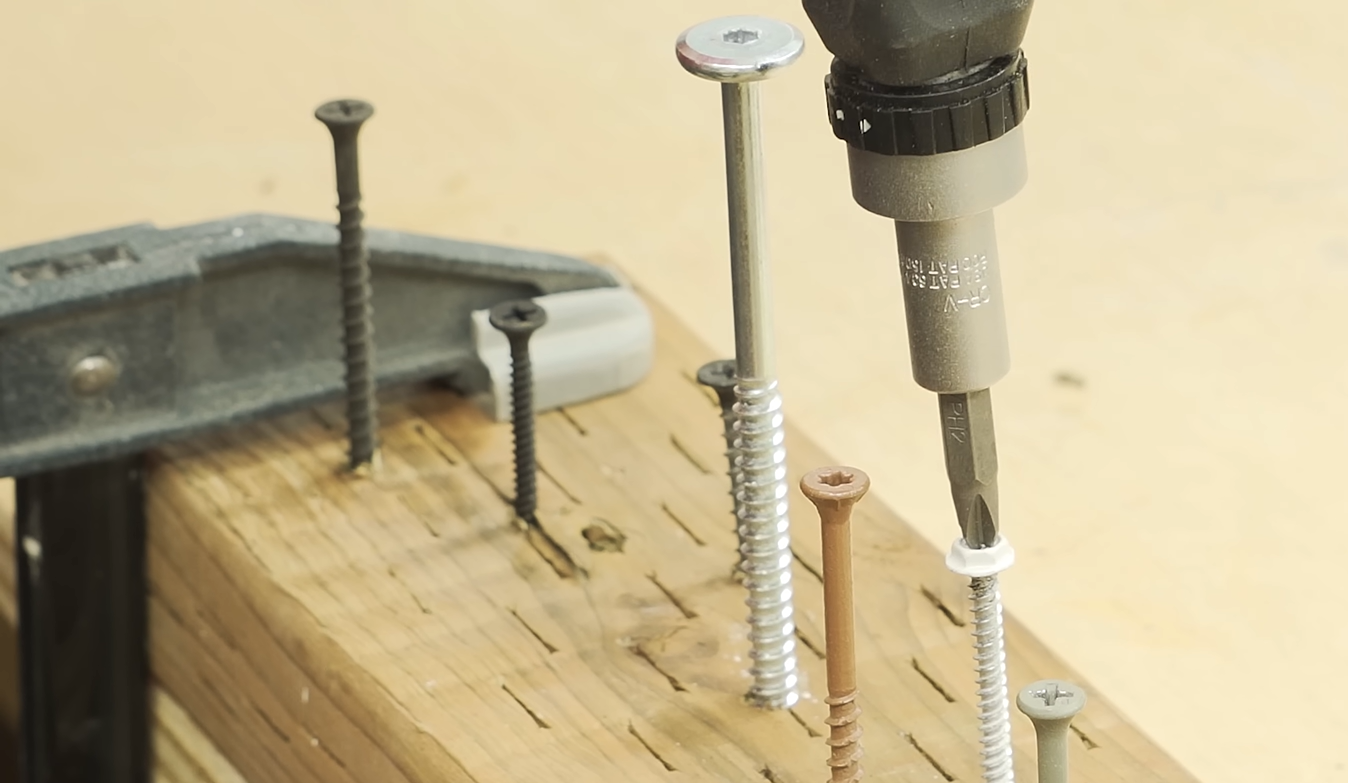
When a screw strips, the driver bit loses its grip inside the screw head. Instead of transferring force into turning the screw, the bit spins and grinds away the internal shape of the screw head.
Once that happens:
-
The screw becomes hard or impossible to drive further
-
Removing it later becomes much more difficult
-
The surrounding material can get damaged
In short, the connection between the drill and the screw fails.

The Most Common Reasons Screws Get Stripped
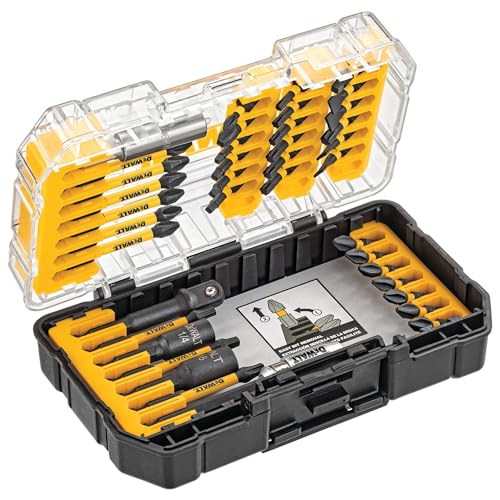
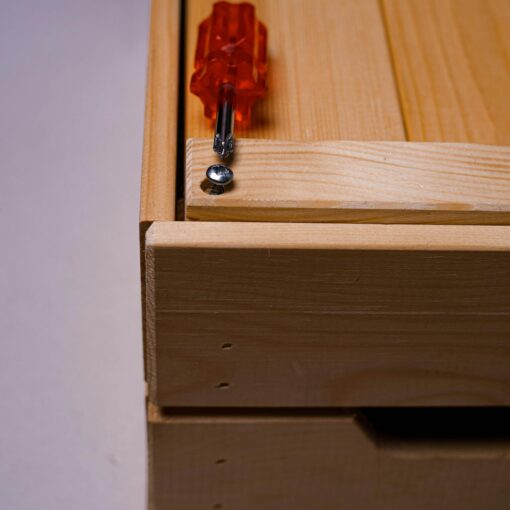
1. Using the Wrong Bit Size
This is the number one cause.
If the bit is even slightly too small, it won’t fully engage with the screw head. Under pressure, it slips. That slipping is what causes stripping.
What often goes wrong:
-
The bit “almost fits,” so we assume it’s fine
-
Metric and imperial sizes get mixed
-
Worn bits look correct but no longer grip properly
A properly sized bit should:
-
Sit fully in the screw head
-
Feel snug with no wobble
-
Stay engaged even before the drill starts spinning
If the bit wiggles, it’s the wrong one.
2. Applying Too Much Speed
Drills are powerful. Sometimes too powerful.
High speed combined with pressure causes the bit to:
-
Jump out of the screw head
-
Generate heat
-
Grind away the internal edges of the screw
This is especially common with softer screws and cheaper fasteners.
Fast spinning does not mean better control.
In fact, slower speeds give us more precision and more grip.
3. Not Enough Downward Pressure
This sounds simple, but it matters more than we think.
If we don’t press the drill firmly into the screw, the bit won’t stay seated. As soon as resistance increases, the bit slips.
On the other hand, pressure alone isn’t enough. It must be:
-
Firm
-
Straight
-
Controlled
Too little pressure causes slipping. Too much pressure combined with speed causes stripping. Balance is key.
4. Drilling at a Slight Angle
Even a small angle can cause big problems.
If the drill isn’t perfectly aligned with the screw:
-
Only part of the bit contacts the screw head
-
Force becomes uneven
-
The bit cams out under load
This often happens in tight spaces or overhead work, where visibility is limited.
Whenever possible, we should:
-
Position ourselves comfortably
-
Align the drill straight with the screw
-
Start slowly to confirm alignment before increasing power
5. Using Worn or Damaged Bits
Driver bits don’t last forever.
Over time, the sharp edges that grip the screw become rounded. Once that happens, even the correct size bit will slip.
Signs of a worn bit include:
-
Shiny, smooth edges
-
Rounded corners
-
Increased slipping even with light torque
Using worn bits is one of the fastest ways to strip screws repeatedly.
6. Screws That Are Too Soft
Not all screws are created equal.
Some screws are made from softer metal, which deforms more easily under force. When paired with a powerful drill, the screw head gives up before the screw goes in.
This doesn’t mean we did something “wrong,” but it does mean we need to adjust how we work:
-
Lower speed
-
Better alignment
-
More control
7. Driving Screws Into Hard Materials Without Preparation
Wood knots, dense hardwoods, and composite materials increase resistance dramatically.
When resistance spikes suddenly:
-
The drill keeps pushing
-
The bit loses grip
-
The screw head strips
This is common when we skip preparation steps.

Common Myths About Stripped Screws
“I Just Need a Stronger Drill”
More power won’t solve this problem.
In fact, more power often makes stripping worse. Control matters far more than strength.
“Stripped Screws Only Happen With Cheap Tools”
Tool quality helps, but technique matters more.
Even professional-grade tools will strip screws if:
-
The bit is wrong
-
Speed is too high
-
Alignment is off
“Once It Starts Stripping, It’s Too Late”
Not always.
If we notice slipping early and stop immediately, we can often:
-
Switch to the correct bit
-
Reduce speed
-
Finish the job cleanly
The real damage happens when we keep pushing despite slipping.
Practical Tips to Stop Stripping Screws
Start Slow, Always
When beginning to drive a screw:
-
Use the lowest speed setting
-
Let the bit fully seat itself
-
Increase speed only if needed
This alone prevents a huge percentage of stripped screws.
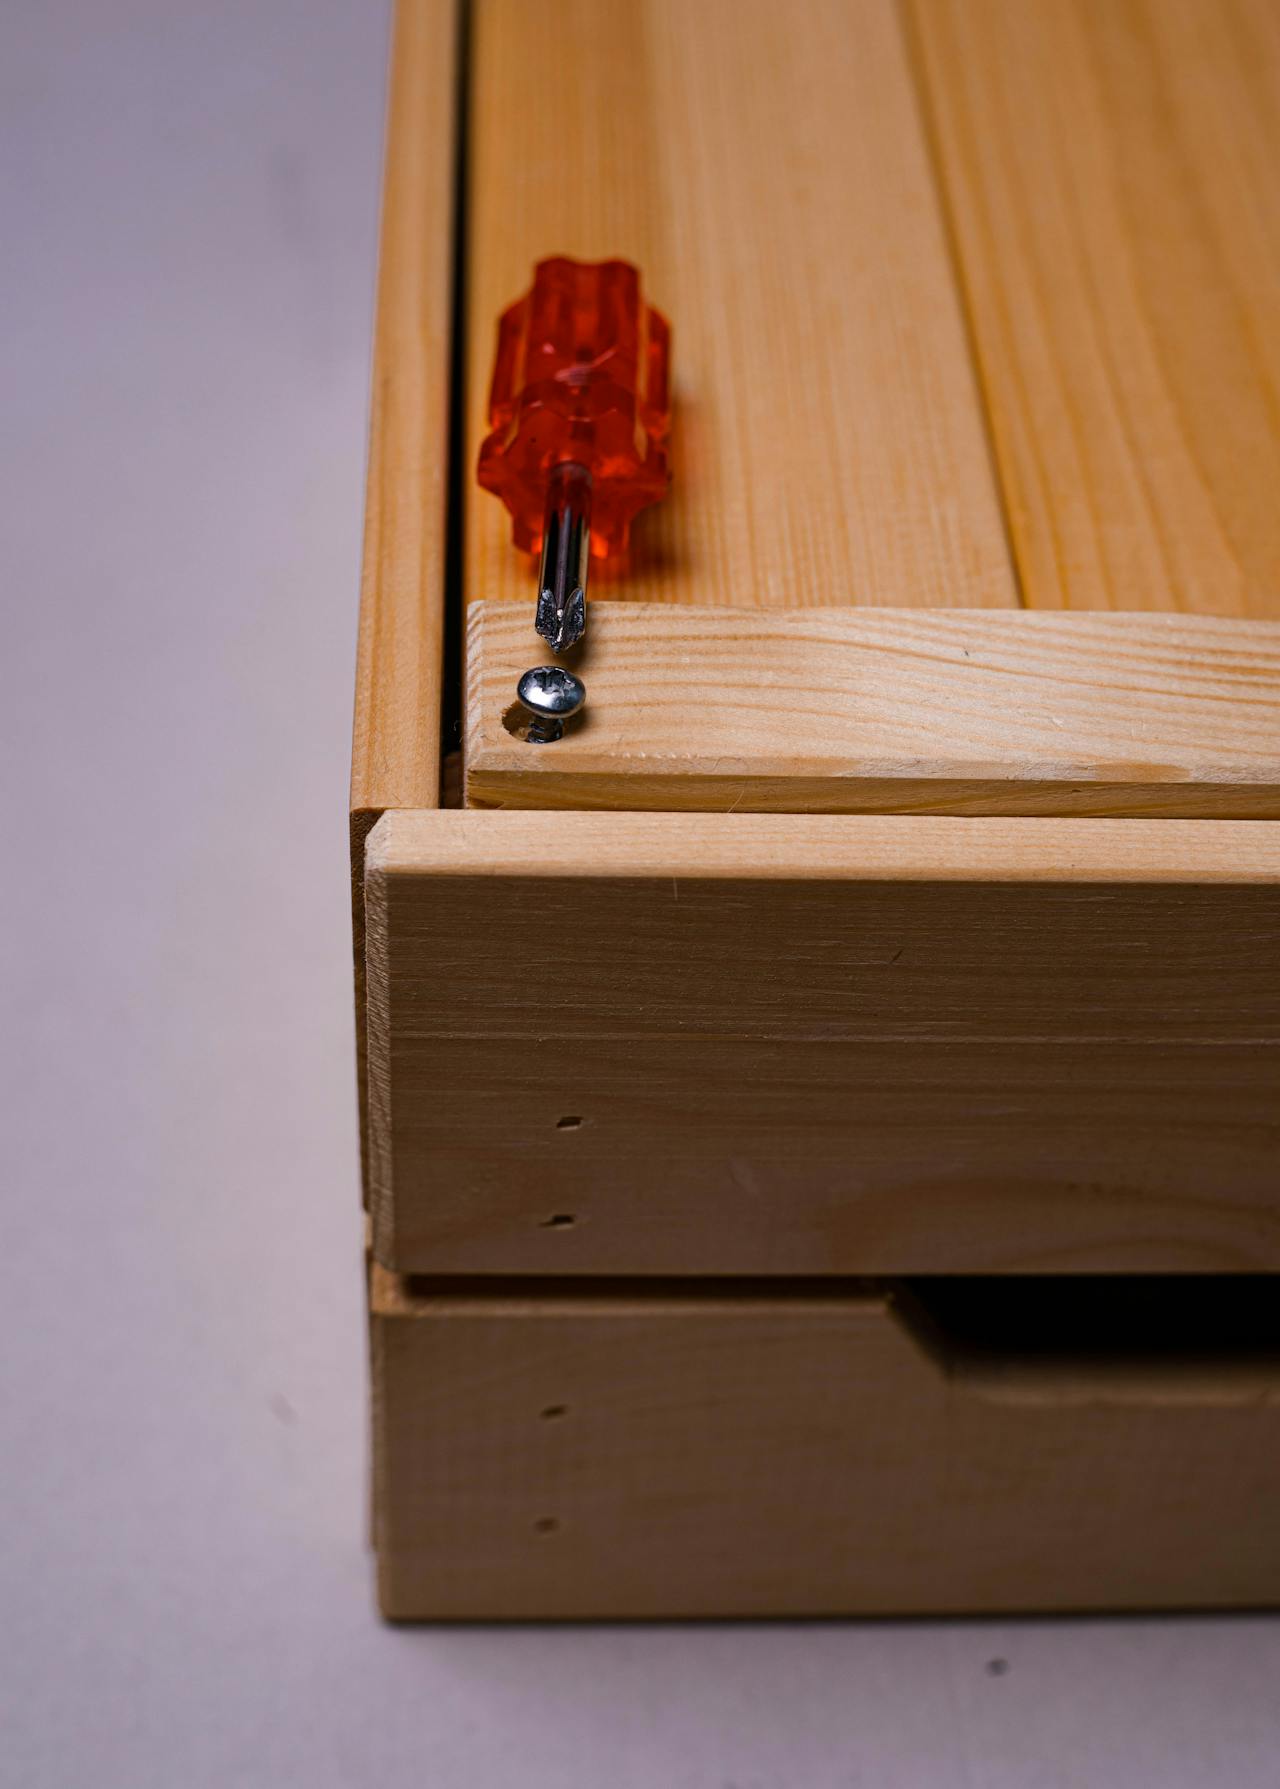
Match the Bit Perfectly
Take the extra few seconds to test the fit.
A good fit feels solid before the drill even starts. If we have to force it, it’s wrong.

Keep the Drill Straight
This deserves repeating.
A straight drill:
-
Transfers force evenly
-
Reduces cam-out
-
Protects both the screw and the bit
If alignment is difficult, reposition yourself rather than forcing the tool.
Use Controlled Pressure
Think of pressure as support, not force.
We’re keeping the bit engaged, not trying to overpower the screw.
Pre-Drill When Necessary
In harder materials, creating a pilot hole can make a dramatic difference.
Pilot holes:
-
Reduce resistance
-
Guide the screw straight
-
Minimize sudden torque spikes
This is especially helpful for beginners.
Stop at the First Sign of Slipping
The moment we hear or feel that grinding sound, we should stop.
Continuing only guarantees damage.
At that point:
-
Check the bit
-
Re-align
-
Adjust speed or pressure
What If the Screw Is Already Stripped?
It happens to all of us.
If a screw is partially stripped but still turning:
-
Slow way down
-
Increase downward pressure slightly
-
Finish gently
If it’s fully stripped:
-
Stop using the drill
-
Switch to a manual approach if possible
-
Avoid forcing it deeper
Trying to power through usually makes removal much harder later.
Why Beginners Experience This More Often
Stripped screws are incredibly common when we’re starting out.
That’s because beginners tend to:
-
Use higher speeds than necessary
-
Trust the drill’s power instead of feel
-
Assume slipping is normal
It isn’t.
Once we learn to feel the connection between bit and screw, stripping becomes rare.
A Quick Checklist Before Driving Any Screw
Before pulling the trigger, let’s pause and check:
-
Is the bit the exact correct size?
-
Is the drill aligned straight?
-
Is the speed set low?
-
Is the bit fully seated?
-
Am I applying steady, controlled pressure?
This 10-second check saves minutes of frustration.

