
How to Cut Drywall Cleanly: A Practical Guide for DIY Beginners
Cutting drywall looks simple at first glance. It’s just gypsum sandwiched between paper, right?
Yet many of us find out the hard way that getting a clean, straight cut is trickier than expected.
Jagged edges, crumbling corners, broken panels, unnecessary dust — these are common frustrations, especially when we’re new to DIY projects. The good news is that drywall is actually very forgiving if we approach it the right way.
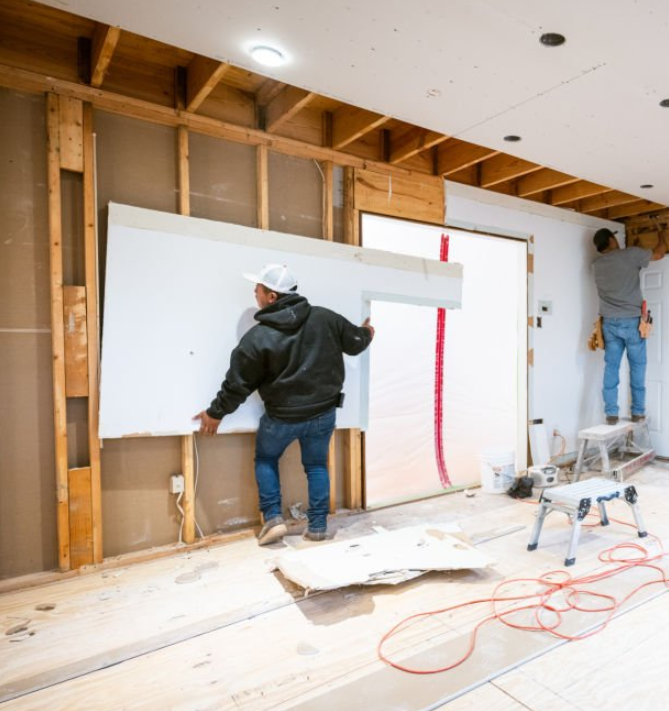
In this guide, we’ll walk through how to cut drywall cleanly, using simple tools and techniques that work for real homes, not professional job sites. We’ll focus on understanding the material, avoiding common mistakes, and building confidence step by step.
Whether we’re fixing a small hole, trimming a sheet for an outlet, or fitting drywall into an awkward corner, this article will help us do it neatly and with less stress.
Understanding Drywall Before We Cut
Before picking up any tools, it helps to know what drywall actually is and how it behaves when cut.
Drywall is made of:
-
A soft gypsum core
-
Covered on both sides with heavy paper
The paper provides strength, while the gypsum gives shape and fire resistance.
Because of this layered structure, drywall doesn’t need to be “sawed” like wood. In fact, sawing often causes more damage than necessary.
The key idea:
We’re not cutting through drywall — we’re scoring and snapping it.
Once this clicks, clean cuts become much easier.

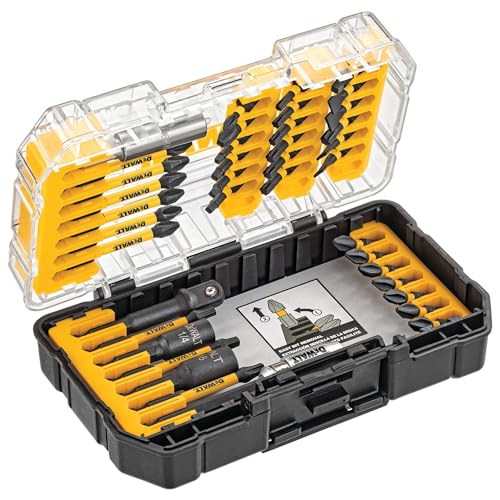
- 📐【Newly Popular Cutting Tool】US Patented No. D939310. New patent Zozen drywall cutting tool is a safe, accurate, efficient, environmentally foldable gypsum board cutter. Let you be the most eye-catching person in the decoration place.
- 📐【Meet More Requirements】The blade can be adjusted to adapt to the drywall of different thicknesses to meet the requirements of 1/4inch, 3/8inch, 1/2inch, 5/8inch gypsum boards on the market. The ABS rotary button can be adjusted to meet any size gypsum board with a height of 25 inches/60 cm and below.
- 📐【Absolutely Safe!】The blade used for cutting can be RESET to ensure that it will not be exposed after resetting, thus ensuring your safety, and we will give you 10 spare blades, and there has storage to store them on the plasterboard cutter place.
Tools We Actually Need (And What We Don’t)
One of the biggest misconceptions is that drywall cutting requires special or expensive tools. In reality, a few basic items are more than enough.
Essential tools
-
Utility knife with a sharp blade
-
Straight edge or drywall square
-
Measuring tape
-
Pencil for marking
That’s it for most straight cuts.
Optional but helpful tools
-
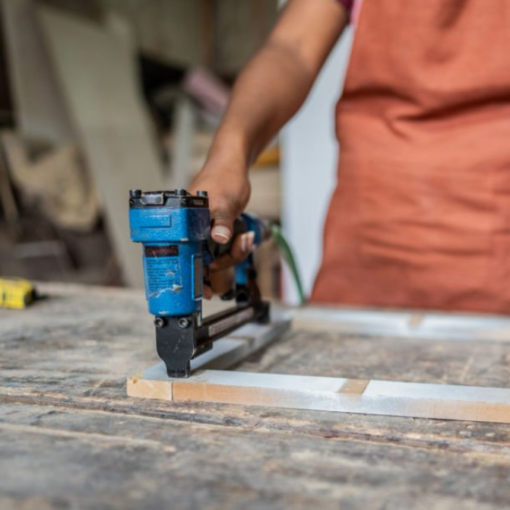
Drywall saw (for small openings)
-
Rasp or sanding block (for smoothing edges)
What we don’t need:
Heavy saws, power tools, or aggressive cutting methods for basic work. These often create more dust and mess than necessary.

How to Cut Drywall Cleanly: Step by Step
Let’s go through the classic, reliable method that works for most straight cuts.
Step 1: Measure Carefully (Then Measure Again)
Drywall mistakes usually start with rushed measuring.
-
Measure the opening or space
-
Transfer the measurement clearly onto the drywall
-
Use a straight edge to connect the marks
Tip:
It’s better to cut slightly large and trim later than cut too small and waste the piece.
Step 2: Score the Front Paper
This is where technique matters.
-
Place the straight edge firmly on the cut line
-
Hold the knife at a slight angle
-
Score the paper with steady pressure
We don’t need to cut deep. A firm pass through the paper layer is enough.
Important:
Avoid sawing back and forth. One or two clean passes are better than many shallow ones.
Step 3: Snap the Board Cleanly
Once the front paper is scored:
-
Lift the sheet slightly
-
Apply pressure along the scored line
-
The drywall should snap cleanly
This break follows the score line naturally if the cut was straight.
Step 4: Cut the Back Paper
After snapping the board:
-
Fold it slightly along the break
-
Slice through the back paper
Now the piece should separate cleanly.
Step 5: Smooth the Edge (If Needed)
Even good cuts can have small imperfections.
-
Use a rasp or sanding block
-
Lightly smooth the edge
-
Focus on removing loose paper, not reshaping the board
A clean edge makes installation easier and improves the final finish.

Cutting Openings for Outlets and Fixtures
Straight cuts are only part of the story. Many drywall jobs involve openings for outlets, switches, or vents.
The careful approach
-
Mark the opening precisely
-
Cut small sections at a time
-
Stay just inside the lines
Drywall is easy to remove, but hard to put back. Slow and controlled cuts usually look cleaner than rushing.
Pro mindset:
We’re shaping drywall, not attacking it.
Common Mistakes That Lead to Messy Cuts
Even with good intentions, a few habits can sabotage our results.
Cutting too deep
Pressing too hard can:
-
Tear the paper
-
Create uneven edges
-
Increase dust
A shallow score is usually enough.
Using dull blades
This is one of the most common issues.
A dull blade:
-
Tears paper instead of slicing
-
Causes rough edges
-
Requires more force (and more mistakes)
Rule of thumb:
If the blade drags, replace it.

Skipping the straight edge
Freehand cuts rarely stay straight.
Even a slight wobble becomes very visible once drywall is installed. A straight edge helps us maintain clean lines with minimal effort.
Forcing the snap
If the board doesn’t snap easily, something’s wrong.
-
The score may be uneven
-
The cut might not be deep enough
-
Pressure may be applied in the wrong spot
Forcing it often leads to broken corners.
Dust Control: Keeping the Workspace Manageable
Drywall dust is fine, light, and gets everywhere if we’re not careful.
Simple ways to reduce mess
-
Cut with a knife instead of sawing
-
Work slowly and deliberately
-
Clean edges gently instead of aggressively sanding
If possible, cutting drywall before bringing it into the room can make cleanup much easier.
Practical Tips That Make a Big Difference
These small habits don’t seem important at first, but they add up.
-
Cut from the finished side whenever possible
-
Support the drywall fully when snapping
-
Keep hands clear of the snap line
-
Work on a flat surface
Drywall rewards patience. The calmer we work, the cleaner the result usually is.
When a Cut Goes Wrong (And How to Fix It)
Mistakes happen. Even experienced DIYers make imperfect cuts sometimes.
Minor issues we can fix
-
Small chips → light sanding
-
Rough paper → trim with a knife
-
Slight overcuts → careful patching later
The key is not panic. Drywall is very forgiving when handled calmly.
Why Clean Cuts Matter More Than We Think
Clean drywall cuts aren’t just about looks.
They also:
-
Fit better during installation
-
Require less compound later
-
Reduce cracking risks
-
Save time during finishing
A few extra minutes spent cutting properly can save hours later.
Conclusion
Quick Summary: Cutting Drywall Cleanly
-
Measure carefully and mark clearly
-
Score the paper, don’t saw the board
-
Snap along the score line
-
Cut the back paper to separate
-
Smooth edges lightly
-
Avoid rushing and forcing cuts
With the right approach, cutting drywall cleanly is absolutely achievable, even for beginners. Once we understand the material and trust the process, it becomes one of the more satisfying parts of DIY home improvement.
And the best part?
Every cut we make builds confidence for the next project.

