
How to Choose Drill Bits: A Simple Guide for Everyday DIY
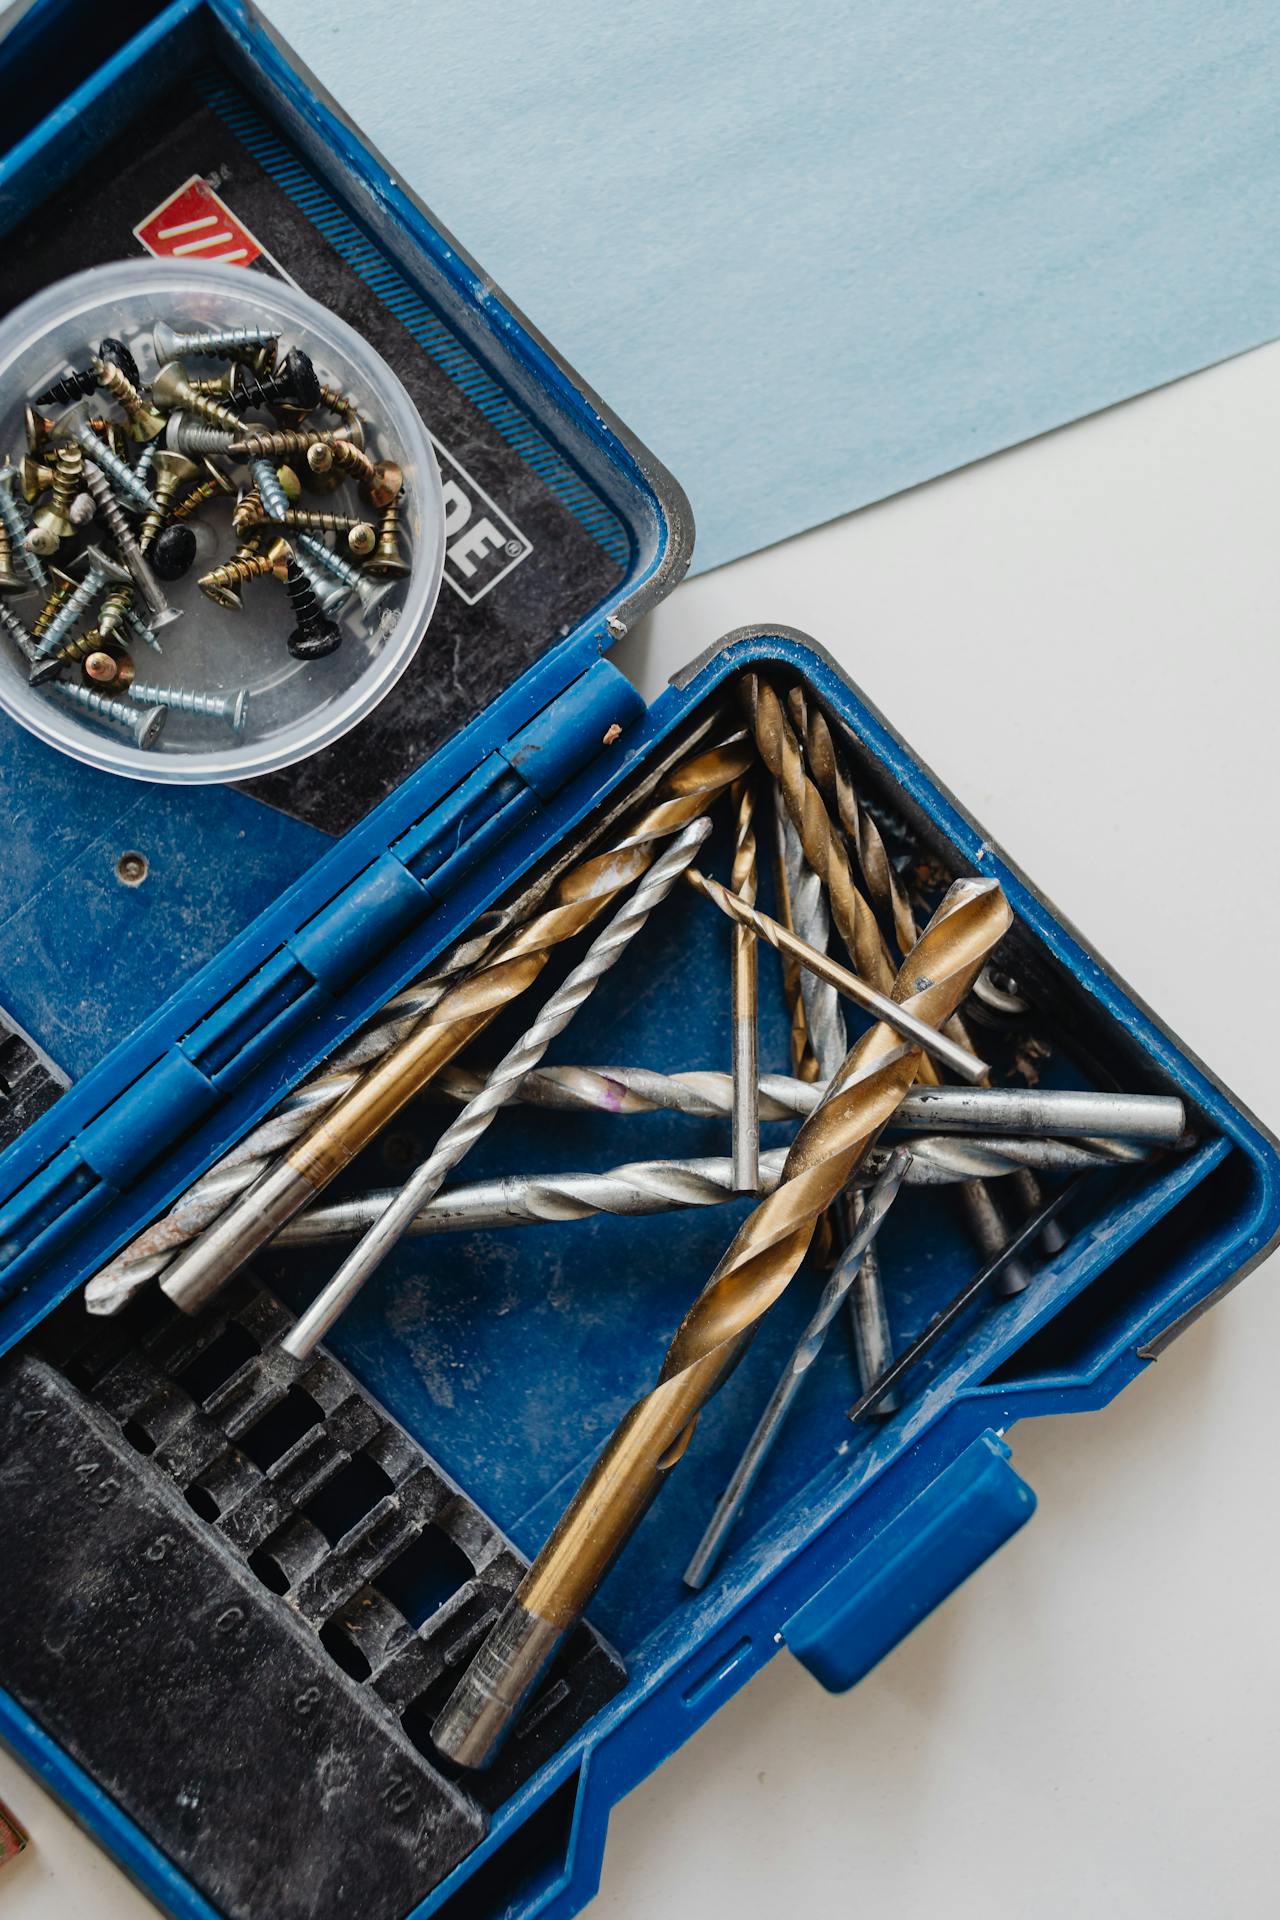
Standing in front of a wall of drill bits can feel surprisingly overwhelming. They look similar at first glance, yet the labels, shapes, and sizes suggest a whole universe of differences.
And then we ask the very normal question:
Which one do we actually need?
The good news is that choosing drill bits is much easier than it seems. We don’t need deep technical knowledge or professional experience. Once we understand a few basics—mainly what material we’re drilling and what size hole we need—the confusion starts to disappear.
Let’s break it down in simple, practical terms.
Why the Right Drill Bit Matters
Using the wrong drill bit can lead to:
-
Rough or oversized holes
-
Burned or damaged material
-
Broken bits
-
A drill that struggles instead of cuts
The right bit makes the job faster, cleaner, and less stressful.
Better match = better result.
Start With the Material We’re Drilling
This is always the first decision. Different materials require different bit designs.
| What We Are Drilling | Drill Bit Type to Use | Why This Works |
|---|---|---|
| Wood, plywood | Brad point / wood bit | Starts accurately, makes clean holes |
| Metal, aluminum | Twist bit for metal | Handles heat and harder surfaces |
| Brick, concrete | Masonry bit | Reinforced tip crushes material |
| Plastic | Wood or metal bit | Clean cut without cracking |

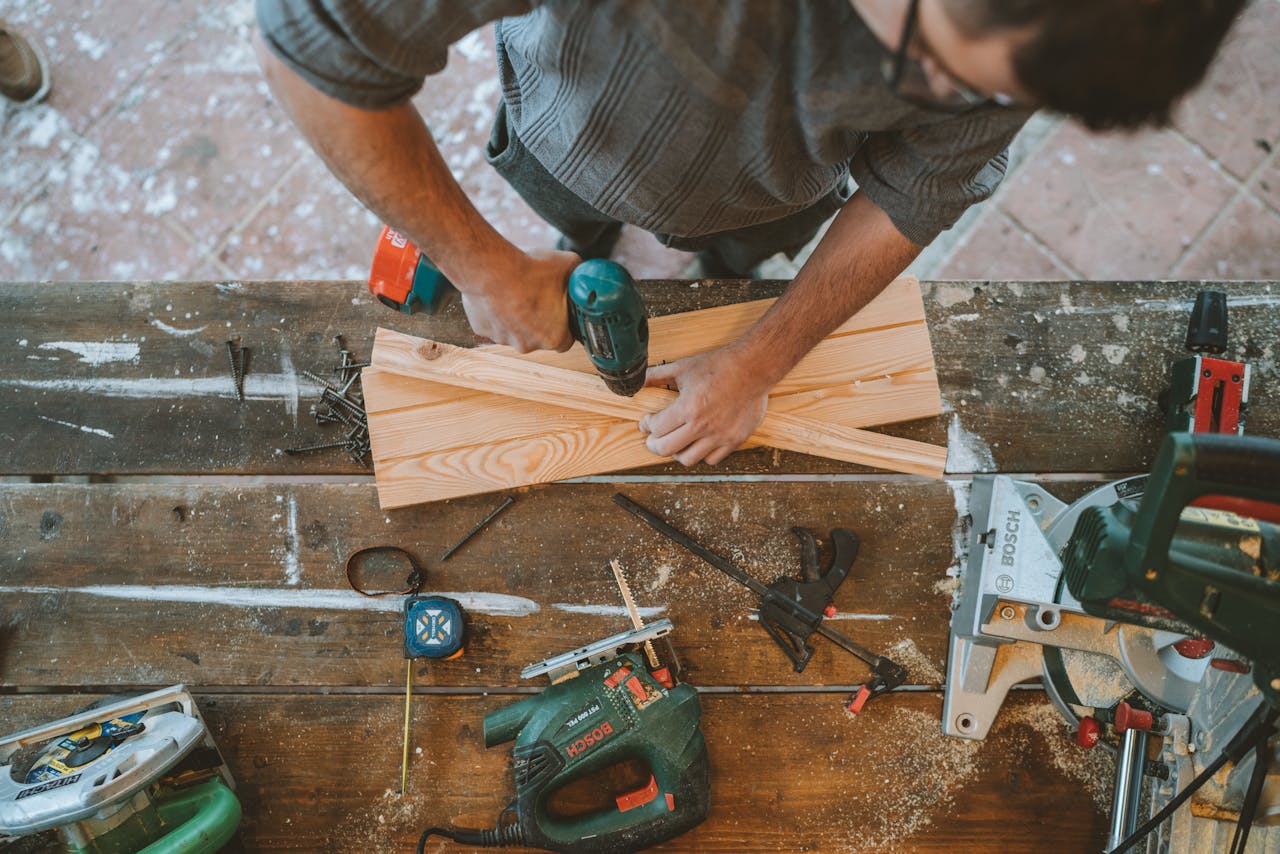
Drill Bits for Wood
Wood is forgiving, which makes it beginner-friendly. But using the right bit still improves accuracy.
Common characteristics of wood bits:
-
Sharp center point
-
Designed to prevent wandering
-
Clean edges around the hole
They’re ideal for:
-
Furniture assembly
-
Shelves
-
General carpentry
-
DIY projects
If we want precision in wood, this is where we start.
Drill Bits for Metal
Metal requires more patience and a tougher cutting edge.
Metal bits usually:
-
Have a pointed tip
-
Lack the sharp center spike found in wood bits
-
Work best at slower speeds
Trying to use wood bits in metal often results in dull edges and frustration.

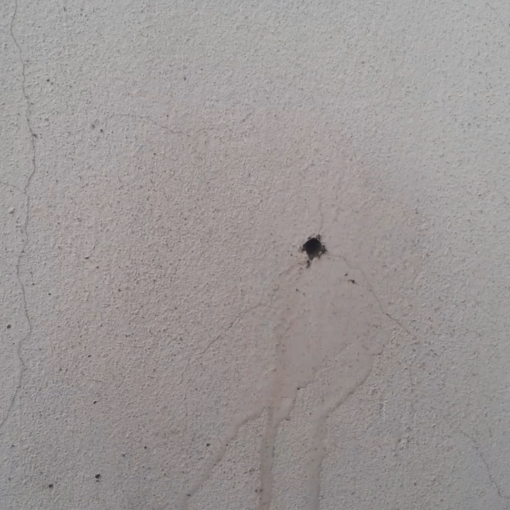
Drill Bits for Masonry
Masonry is a completely different challenge.
These bits are built for:
-
Brick
-
Concrete
-
Stone
They typically have reinforced tips designed to crush rather than slice material.
Without the right bit, drilling into masonry becomes nearly impossible.
Next Step: Choose the Correct Size
After picking the type, size becomes the focus.
Drill bit sizes are usually marked on the shaft. The size should match:
-
The anchor
-
The screw
-
The bolt
A hole that’s too small makes installation hard.
Too large, and nothing holds securely.
When unsure, we can test on scrap material first.

What About Pilot Holes?
-
Pilot holes are small starter holes drilled before inserting screws.
They help:
-
Prevent wood from splitting
-
Guide screws straight
-
Reduce effort
In many cases, drilling a pilot hole first produces cleaner results than driving screws directly.
-
Understanding Shank Types (Without Overcomplicating)
The shank is the part the drill holds.
Most homeowners will see:
-
Round shanks
-
Hex shanks
Both are common and work fine for everyday drilling. Compatibility with the drill matters more than style.
Common Mistakes When Choosing Drill Bits
Guessing Instead of Checking
Grabbing a random size often leads to redo work.
Using One Bit for Everything
Bits wear differently depending on material. Switching improves performance.
Replacing Too Late
Dull bits:
-
Require more pressure
-
Overheat
-
Create messy holes
Sharp bits are safer and easier to use.
Practical Tips That Make Selection Easier
-
Identify the material first
-
Match the hole size to the fastener
-
Use pilot holes in wood
-
Start smaller if unsure
-
Replace worn bits early
Simple decisions lead to smoother drilling.
When We Might Need Specialty Bits
Sometimes projects involve larger holes or unique materials. In those cases, specialty bits exist—but they’re occasional tools, not everyday essentials.
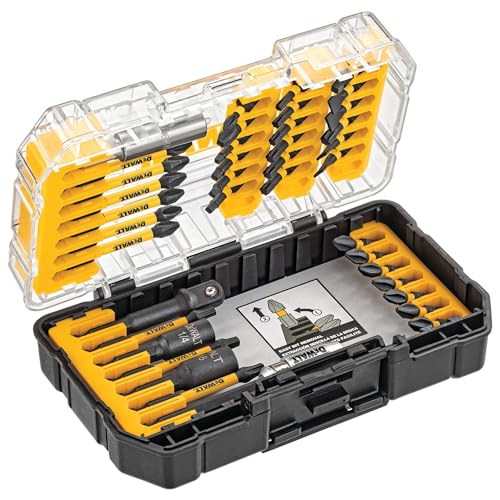
For most homeowners, a basic multi-material set covers nearly everything.
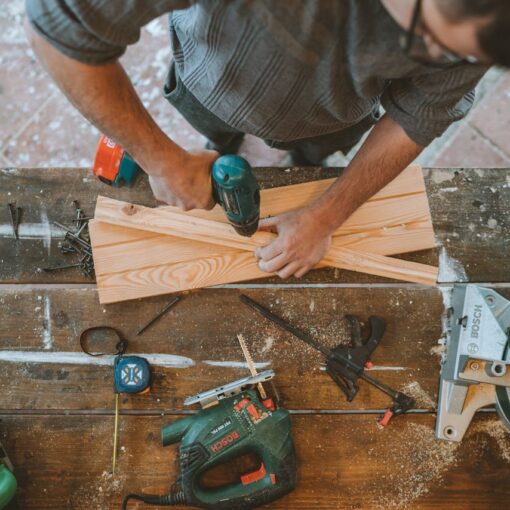
Why the Right Drill Bit Builds Confidence
When drilling goes smoothly, we feel in control. The drill doesn’t fight us. The hole looks clean. The fastener fits.
And suddenly, DIY feels easier.
Choosing the right bit is one of those small skills that makes a big difference.
Conclusion
How to Choose Drill Bits…
-
Start by identifying the material
-
Wood, metal, and masonry need different designs
-
Match the size to the fastener
-
Use pilot holes when needed
-
Don’t force dull bits
-
Test on scrap material if unsure
Once we understand these basics, picking the right drill bit becomes quick and stress-free. And that means we can focus on building, fixing, and improving our homes instead of second-guessing ourselves.


