
How to Drill Through Tile Without Cracking It: A Step-by-Step Guide for Perfect Holes
Drilling into tile can feel intimidating.
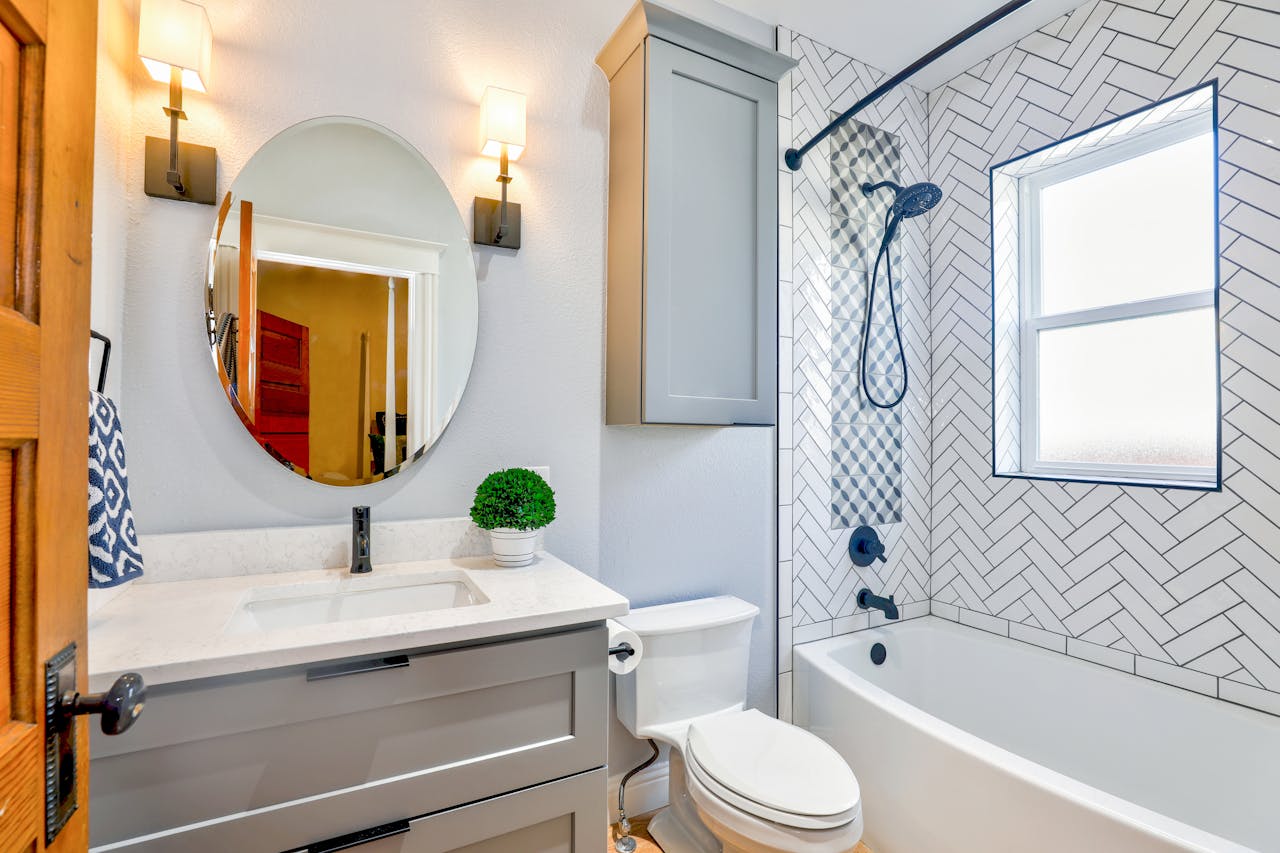
Tile surfaces are hard, brittle, and often installed in places where mistakes are very visible — kitchens, bathrooms, and backsplashes. One small slip with a drill bit can lead to cracks, chips, or even a broken tile.
But the good news is this: we can drill through tile safely if we use the right tools and approach the job patiently.
Let’s walk through how tile behaves, what tools work best, and the step-by-step method that helps prevent cracks.
Why Tile Cracks So Easily
Tile is designed to be strong and durable, but it has one weakness: it’s brittle.
That means it can resist pressure up to a point, but sudden force or vibration can cause it to fracture.
Several things can cause tile to crack while drilling:
-
Using the wrong drill bit
-
Applying too much pressure
-
Drilling too fast
-
Letting the drill bit slip on the surface
-
Drilling too close to tile edges
Understanding these risks helps us avoid them.
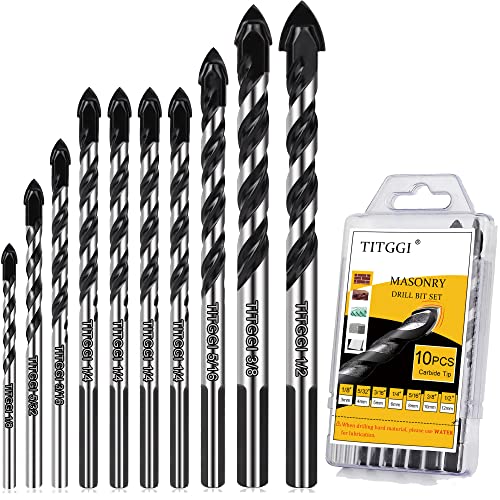
- HIGH QUALITY DRILL BIT SET; TITGGI Masonry drill bit set, industrial strength carbide drill bit tip, excellent abrasion resistance, make the drilling much more easier. this cement drill bits can easily penetrate various material (glass, ceramic, cement, wood, brick, travertine, hard plastic, etc.)
- FAST PENETRATION; This masonry bit is suitable for most general drill, electric drill, hand drill and bench drill, the double U-type groove slot design brings fast drilling dust remove, and 3-flats shank allows drill bit easy plug and to be held tightly, strong tungsten carbide drill bit tip and longer service life of TITGGI masonry drill bit.
- SATISFY ALL YOU DEMAND; Package includes 10 Pcs drill bit set: 1/8", 5/32", 3/16", 1/4", 1/4", 1/4", 1/4", 5/16", 3/8", 1/2", there are 10 differenct cement drill bit sizes, that will help in drilling by starting with the smallest bit and continuing to the size needed.
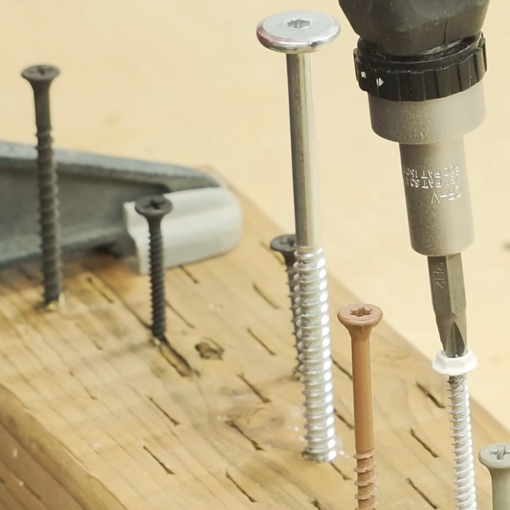
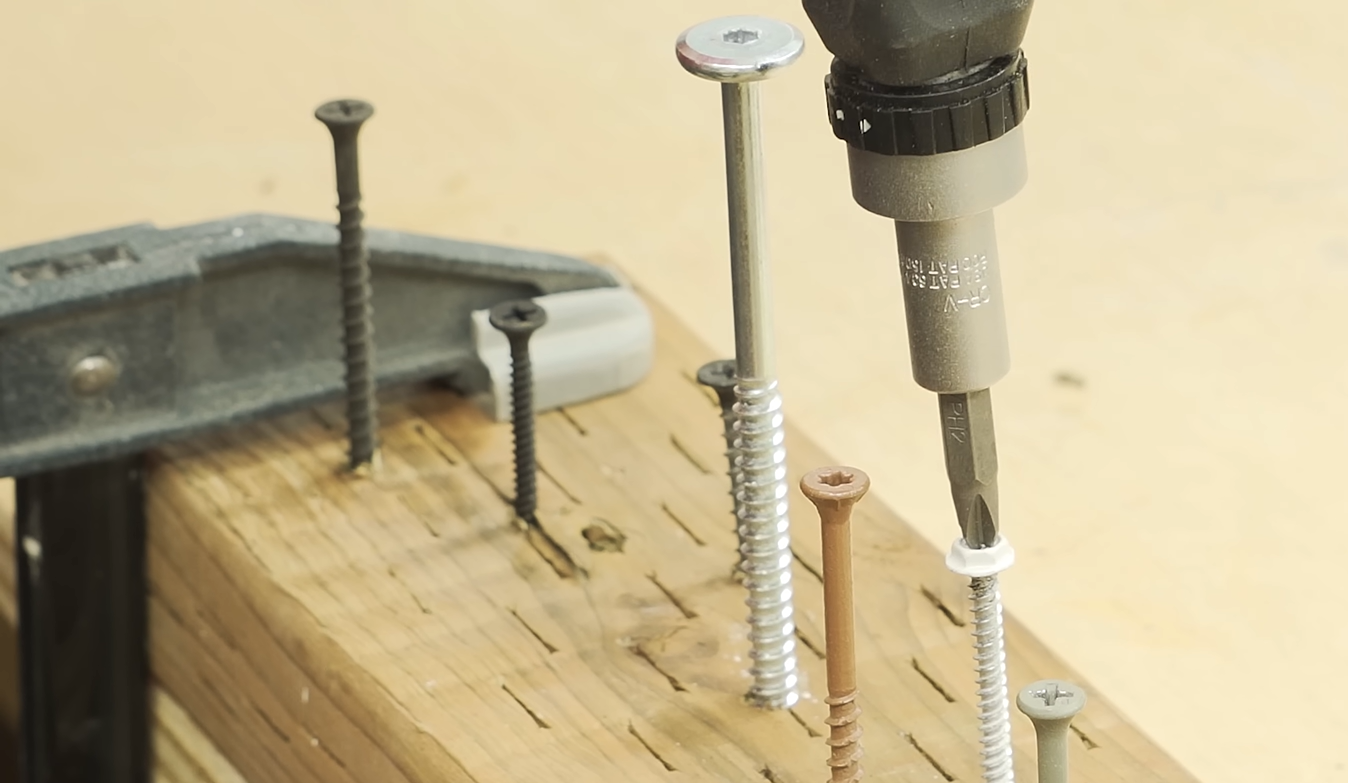
Choosing the Right Drill Bit
The drill bit matters more than the drill itself.
For tile, we should use either:
-
Carbide-tipped masonry bits
-
Diamond-coated drill bits
These bits are designed to grind slowly through hard surfaces rather than cutting aggressively like wood drill bits.
Standard metal or wood bits usually slide across the tile surface and can cause chips.
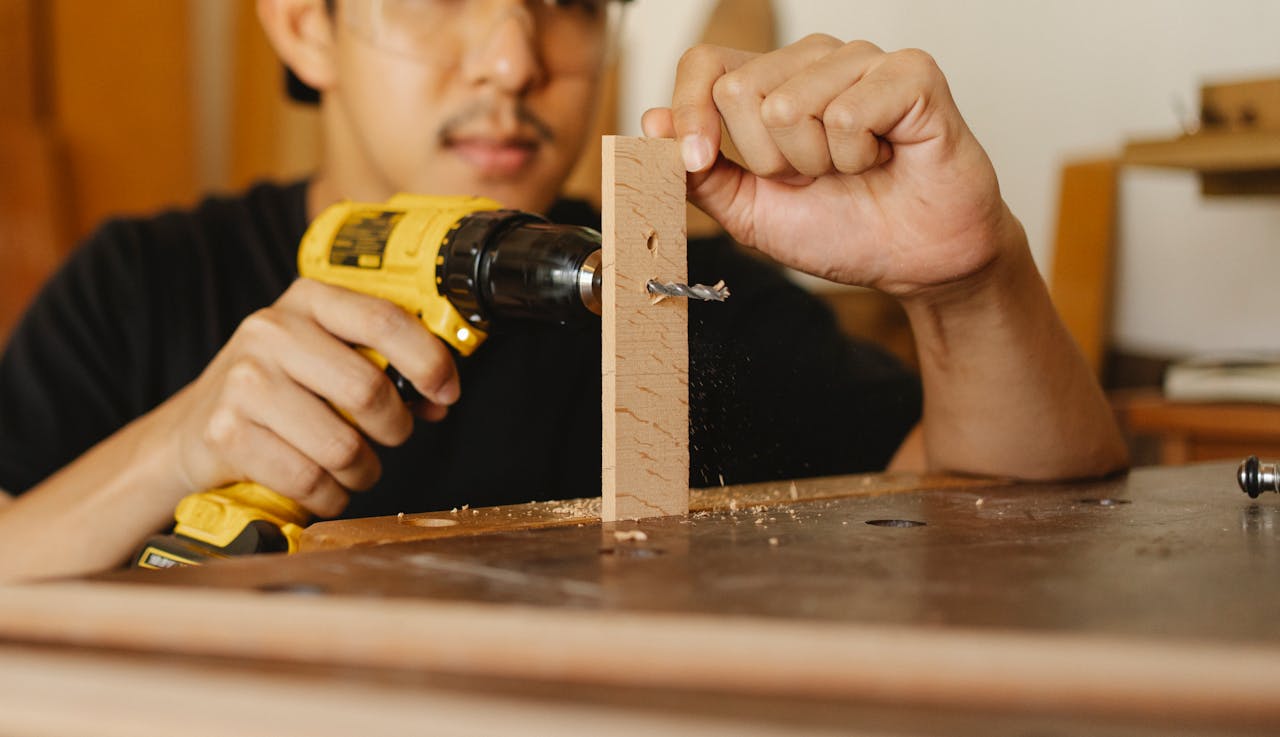
The Tools That Work Best
We don’t need specialized industrial equipment, but a few tools make the job easier.
Helpful tools include:
-
A standard drill (without hammer mode)
-
Painter’s tape
-
A level or measuring tool
-
Safety glasses
-
A spray bottle with water
Most importantly, hammer mode should be turned off when starting the hole.
Hammer drilling at the beginning can crack the tile surface.

Step-by-Step: Drilling Tile Without Cracking It
1. Mark the Hole Location
Measure carefully and mark the drilling spot with a pencil or marker.
Once a hole is drilled in tile, it cannot be undone.
2. Apply Painter’s Tape
Place a small piece of painter’s tape over the drilling location.
This helps in two ways:
-
Prevents the drill bit from slipping
-
Reduces surface chipping
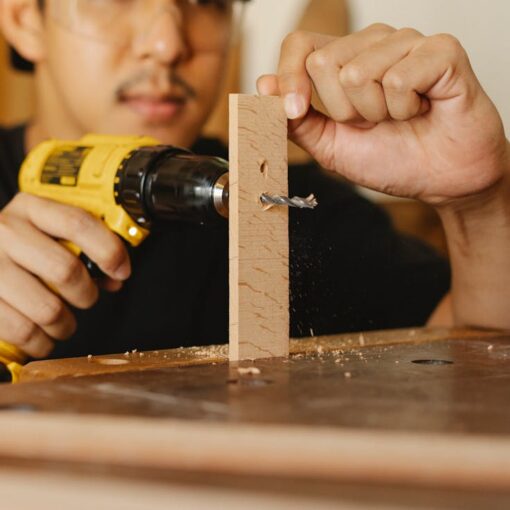
3. Start Drilling Slowly
Begin drilling at a low speed with light pressure.
Tile should be drilled gradually. Forcing the drill only increases the chance of cracks.
Let the drill bit grind slowly through the glaze.
4. Keep the Bit Cool
Drilling tile generates heat.
Spraying a small amount of water on the bit can help:
-
Reduce heat buildup
-
Protect the drill bit
-
Improve drilling performance
This step is especially helpful when drilling porcelain tile.
5. Reduce Pressure Once Through the Tile
After the drill bit passes through the tile layer, the material behind it is usually softer — drywall, cement board, or mortar.
At that point drilling becomes easier, so we should slow down and maintain control.

Where Not to Drill
The position of the hole also matters.
Avoid drilling:
-
Near tile edges
-
In tile corners
-
On cracked tiles
-
Directly on grout lines unless necessary
Edges and corners are the most fragile areas of a tile.
Keeping some distance from them helps prevent fractures.
Common Mistakes That Cause Tile to Crack
Even experienced DIYers sometimes make these mistakes.
Using Hammer Mode Too Soon
Hammer drilling should only be used after passing through the tile layer — and often it’s not needed at all.
Pushing Too Hard
Excess pressure increases vibration and cracking risk.
Skipping the Tape
Without tape, the drill bit may wander across the smooth tile surface.
Using a Dull Drill Bit
Dull bits generate heat and friction, which can damage the tile.

What If the Tile Is Porcelain?
Porcelain tile is harder and denser than ceramic tile.
Because of this, drilling porcelain requires:
-
Diamond drill bits
-
Slower drilling speed
-
Extra patience
Trying to rush porcelain drilling almost always leads to broken bits or chipped tile.
Helpful Safety Tips
Tile drilling produces fine dust and small fragments.
For safety, we should:
-
Wear safety glasses
-
Drill at a steady speed
-
Keep the drill straight
-
Clean debris from the hole as we go
Working slowly and carefully is always the best approach.
Not All Tile Is the Same: Why the Material Matters
One important detail that often surprises DIY beginners is that different types of tile behave very differently when drilling.
At first glance, most tiles look similar, but the material density can vary a lot.
Here’s how the most common types compare:
Ceramic tile
This is the easiest type to drill. It’s relatively soft compared to other tile materials, so carbide-tipped masonry bits usually work well.
Porcelain tile
Porcelain is much denser and harder than ceramic. Because of this, drilling requires slower speeds, more patience, and often a diamond-coated drill bit for best results.
Glass tile
Glass tile is extremely brittle. Even small amounts of pressure can cause cracks or chips. When drilling glass tile, it’s especially important to use a diamond bit and keep the bit cool with water.
Knowing what type of tile we’re working with helps us choose the right drill bit and drilling speed — and significantly reduces the chance of cracking the tile.
Conclusion
Drilling Through Tile Without Cracking It…
-
Use carbide or diamond tile drill bits.
-
Turn off hammer mode at the start.
-
Apply painter’s tape to prevent slipping.
-
Drill slowly with light pressure.
-
Keep the bit cool with water.
-
Avoid tile edges and corners.
-
Work patiently and steadily.
Drilling through tile may seem risky, but it becomes much easier when we approach it the right way.
With proper preparation, the right drill bit, and a little patience, we can make clean holes in tile without damaging the surface — and complete projects like installing shelves, towel bars, or fixtures with confidence.
