
Best Way to Sand Walls (Without Making a Huge Mess)
Sanding walls is one of those tasks we tend to underestimate.
At first, it seems simple. Just grab some sandpaper and start rubbing, right? But after a few minutes, we realize something quickly: dust gets everywhere, uneven spots show up, and it’s easy to overdo it.
The truth is, there is a best way to sand walls — and it’s all about using the right tools, the right technique, and a bit of patience.
Let’s go through how we can sand walls efficiently, keep dust under control, and get a smooth, paint-ready surface.
Why Sanding Walls Matters
Before painting or repairing walls, sanding helps create a smooth, even surface.
It removes:
- Old paint imperfections
- Drywall compound ridges
- Small bumps and debris
- Glossy finishes that prevent paint from sticking
Skipping this step often leads to uneven paint and visible flaws.
A properly sanded wall makes everything that comes after look better.

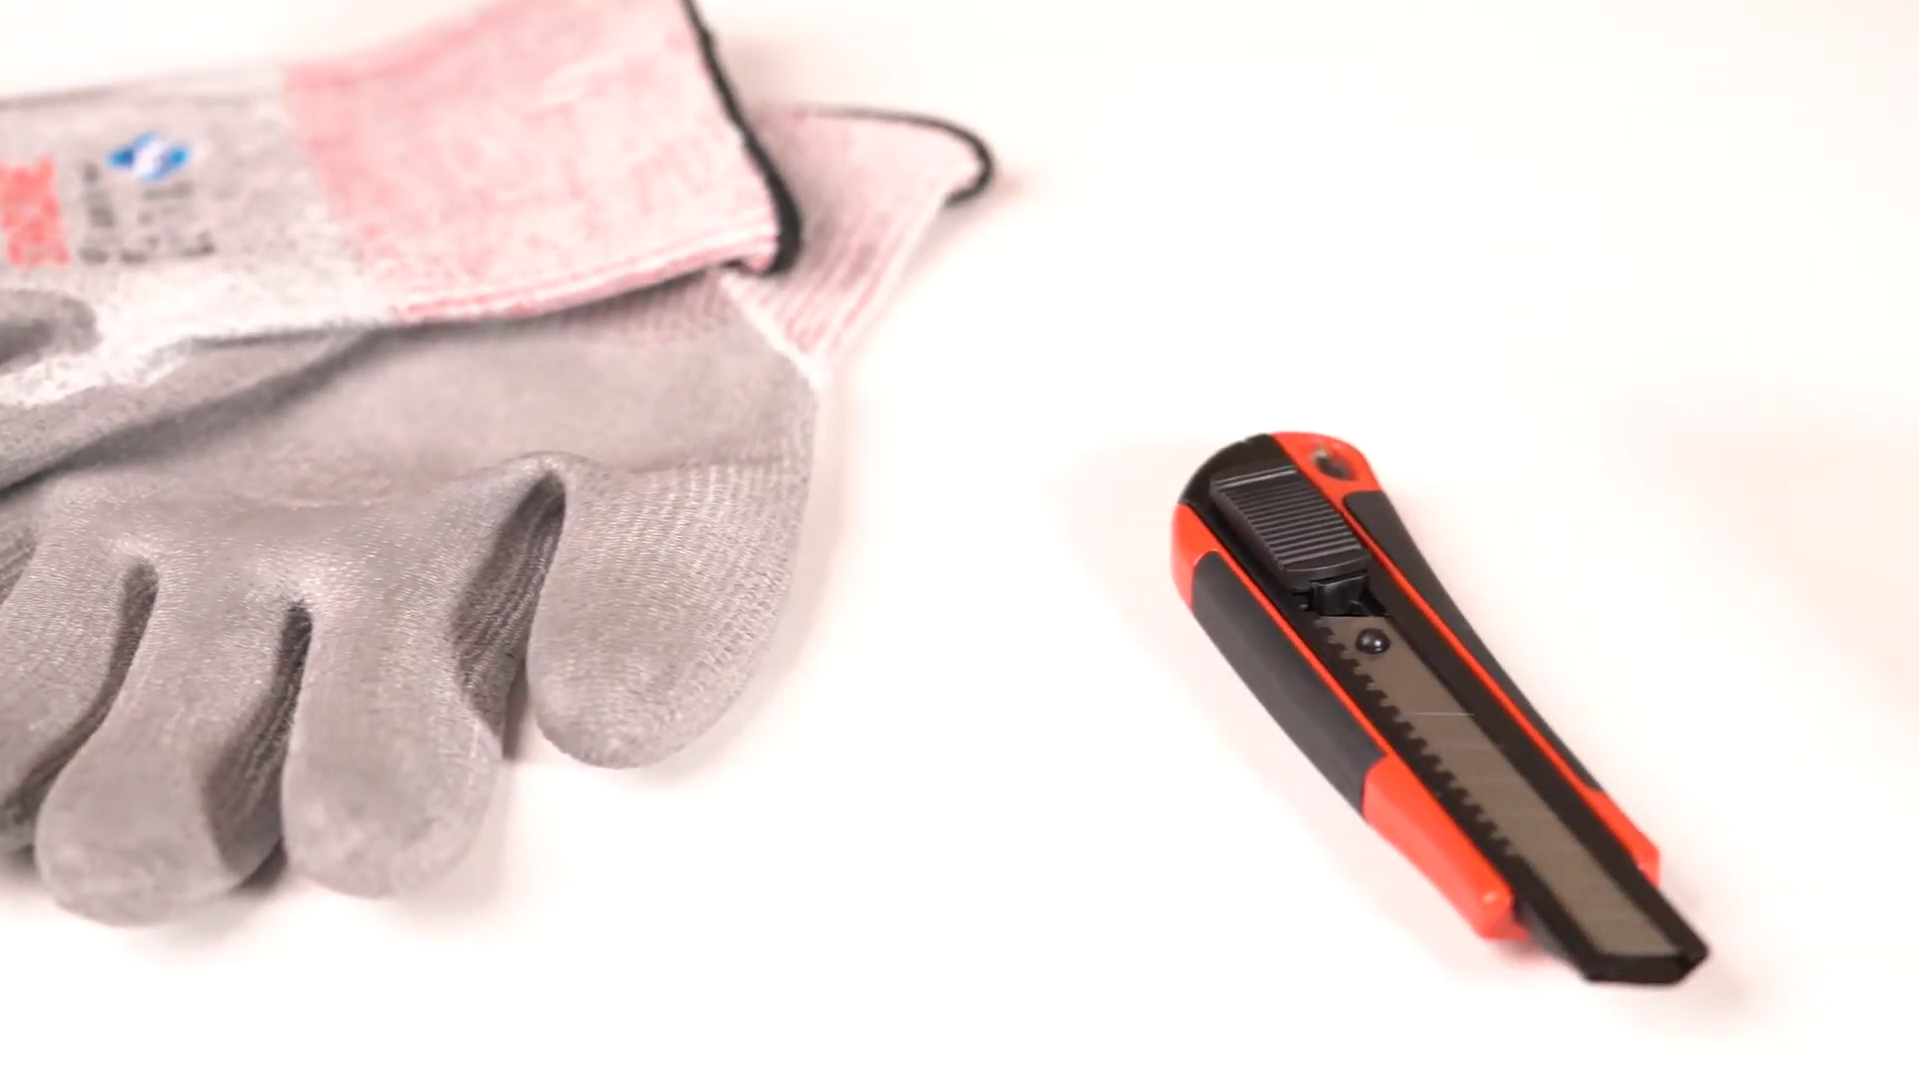
- Drywall hand sander attaches to any wet/dry vacuum for sanding without dust throughout your worksite
- Protects furniture, floors, electronics-and your lungs-from invasive drywall dust
- EasyClamp system allows sanding screen replacement quickly and easily
Choosing the Right Sandpaper Grit
Not all sandpaper is the same.
The grit we choose depends on the task.
- 80–120 grit → Removing rough spots or heavy compound
- 120–150 grit → General wall smoothing
- 180–220 grit → Final finishing before painting
Using too rough a grit can damage drywall, while too fine a grit won’t remove imperfections.
The Best Tools for Sanding Walls
We don’t need expensive equipment, but the right tools make a big difference.
Pole Sander
A pole sander is one of the most useful tools for walls.
It helps us:
- Reach high areas
- Maintain even pressure
- Avoid ladder fatigue
Sanding Sponge
Great for corners, edges, and small repairs.
It conforms slightly to surfaces, making it easier to control.
Drywall Sanding Screen
These are more durable than regular sandpaper and don’t clog as easily.
Electric Sander (Optional)
For large areas, a drywall sander can save time — but it can also remove material quickly, so control is important.

Step-by-Step: How to Sand Walls Properly
1. Prepare the Room
Dust control starts before sanding.
We should:
- Cover floors with plastic or drop cloths
- Remove or cover furniture
- Seal doorways if possible
Wall sanding dust spreads fast.
2. Start With Light Pressure
This is where most mistakes happen.
We don’t need to press hard.
Instead:
- Use gentle, even strokes
- Let the sandpaper do the work
- Avoid staying too long in one spot
Too much pressure creates dips and uneven areas.
3. Sand in Wide, Even Motions
Work in circular or back-and-forth motions across a larger area.
This helps blend surfaces and prevents visible sanding marks.
4. Check Your Work Frequently
Run your hand across the wall.
Our hands often detect imperfections better than our eyes.
If something feels rough, it will likely show after painting.
5. Clean the Surface After Sanding
Once sanding is complete:
- Wipe walls with a damp cloth
- Or use a vacuum with a brush attachment
Dust left behind can affect paint adhesion.

How to Reduce Dust (This Matters a Lot)
Dust is the biggest downside of sanding walls.
Here’s how we can control it:
- Use drywall sanding screens that clog less
- Attach a vacuum to sanding tools (if possible)
- Try wet sanding with a damp sponge for small areas
- Work in sections instead of sanding everything at once
Even small changes can dramatically reduce cleanup time.
Common Mistakes to Avoid
Let’s make this easier on ourselves.
Sanding Too Aggressively
This can damage drywall paper and create uneven surfaces.
Using the Wrong Grit
Too coarse leaves scratches, too fine does nothing.
Skipping Dust Removal
Dust prevents paint from sticking properly.
Ignoring Lighting
Shine a light across the wall at an angle. It helps reveal imperfections we might miss otherwise.

When to Use Wet Sanding
Wet sanding is useful for:
- Small patches
- Drywall repairs
- Dust-sensitive areas
It produces far less dust but works more slowly.
For large walls, dry sanding is usually more practical.
Pro Tip: Use Light to Your Advantage
A simple trick many DIYers overlook:
Shine a work light or flashlight across the wall at a low angle.
This creates shadows that highlight:
- Bumps
- Scratches
- Uneven areas
It’s one of the easiest ways to improve results.
Not All Walls Sand the Same: What Surface Are We Working With?
One thing we often overlook is that different wall types react very differently to sanding.
Understanding what surface we’re working on can prevent a lot of frustration — and damage.
Drywall
This is the most common surface. It sands easily, but also damages easily if we use too much pressure. It’s important to stay gentle and avoid exposing the paper layer.
Painted Walls
If the wall has multiple paint layers or a glossy finish, sanding takes more time. In these cases, we’re not trying to remove all the paint — just dull the surface so new paint can stick properly.
Plaster Walls
Plaster is harder than drywall and may require slightly more pressure or coarser grit at the start. However, it can also crack if handled too aggressively.
Previously Patched Areas
Joint compound sands much faster than the surrounding wall. That means it’s easy to create dips if we don’t blend carefully.
The key takeaway:
We should always adjust pressure, grit, and technique based on the wall surface — not just the task.
This small awareness helps us avoid uneven results and unnecessary repairs.
Conclusion
Best Way to Sand Walls…
- Choose the correct sandpaper grit.
- Use light, even pressure.
- Work in wide, consistent motions.
- Check smoothness by touch.
- Control dust with proper setup.
- Clean the surface before painting.
- Use angled light to spot imperfections.
Sanding walls isn’t complicated — but doing it well makes a huge difference.
When we slow down, use the right tools, and focus on consistency, we end up with smoother walls, better paint results, and far less frustration during the process.
And that’s what makes the effort worth it.
