
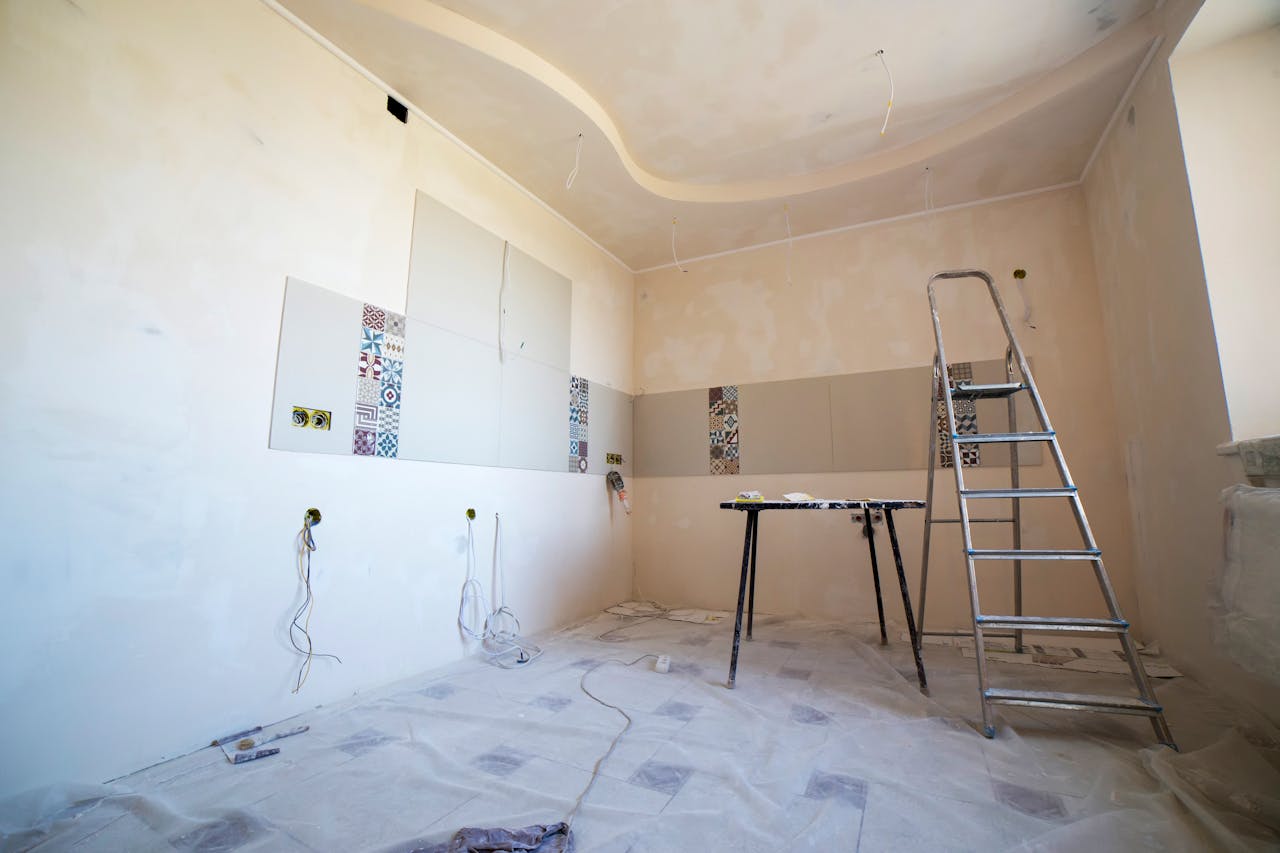
Best Way to Sand a Ceiling (Without Making a Huge Mess)
Sanding a ceiling is one of those DIY tasks we don’t exactly look forward to.
It’s dusty, uncomfortable, and often involves working overhead — which can quickly become tiring. But whether we’re fixing drywall seams, smoothing old paint, or prepping before repainting, sometimes it’s necessary.
The good news is this: there is a right way to sand a ceiling that minimizes mess, reduces fatigue, and gives us a much better finish.
Let’s walk through how to do it efficiently, what tools actually help, and how to avoid turning the whole room into a dust cloud.
Why Ceiling Sanding Feels So Difficult
Before jumping in, it helps to understand why this job is challenging.
Ceiling sanding involves:
- Working above shoulder height
- Managing falling dust
- Keeping even pressure across a large surface
- Avoiding uneven patches
If we rush or use the wrong tools, the result can be visible marks, uneven texture, or excessive dust everywhere.
That’s why setup and technique matter just as much as sanding itself.
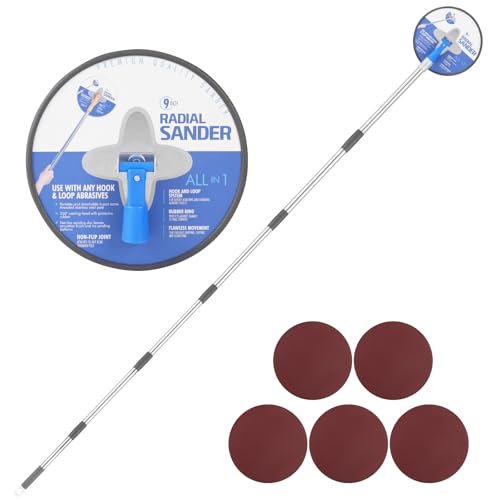
- 【Excellent and Efficient Sanding】: Our 9-inch round sanding head can quickly cover large areas, with an 86-inch adjustable extension pole, providing an efficient solution for preparing walls and ceilings.
- 【 Multi-Directional Swivel Head】: The 360-degree rotating head offers unparalleled flexibility, allowing you to sand in any direction with ease. This ensures a smooth and even finish in every corner and edge of your project.
- 【 Convenient Sandpaper Replacement System】: The quick-change sandpaper system allows for fast and easy sandpaper swaps without any tools, ensuring your work remains uninterrupted and flows smoothly.
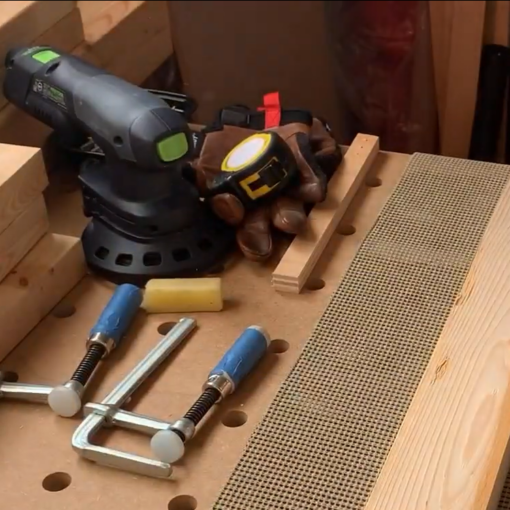
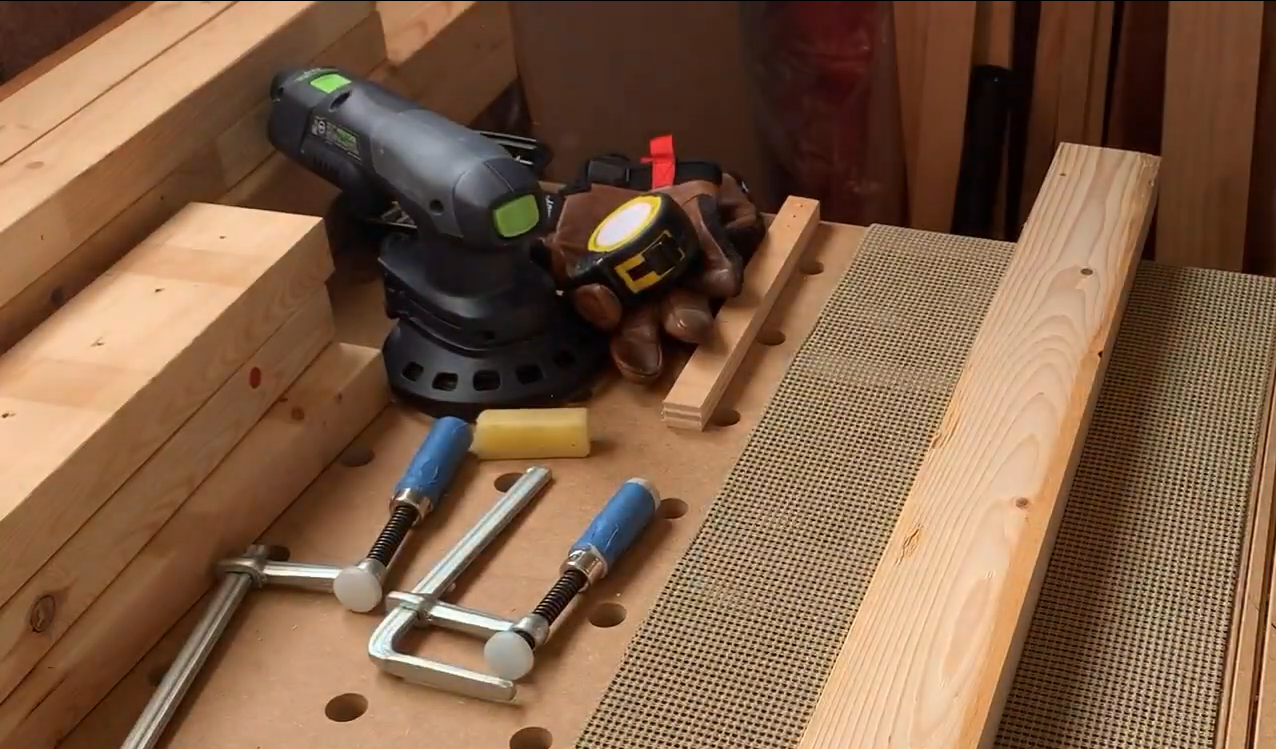
The Tools That Make the Biggest Difference
Using the right tools can make this job dramatically easier.
Here are the most useful options:
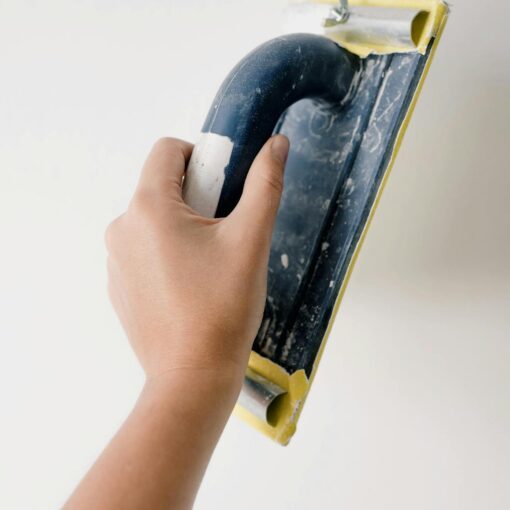
Pole Sander
A long-handled sanding tool that lets us reach the ceiling without a ladder. Great for large areas.
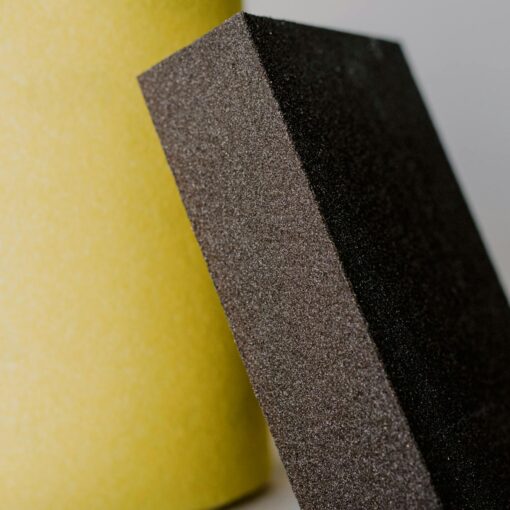
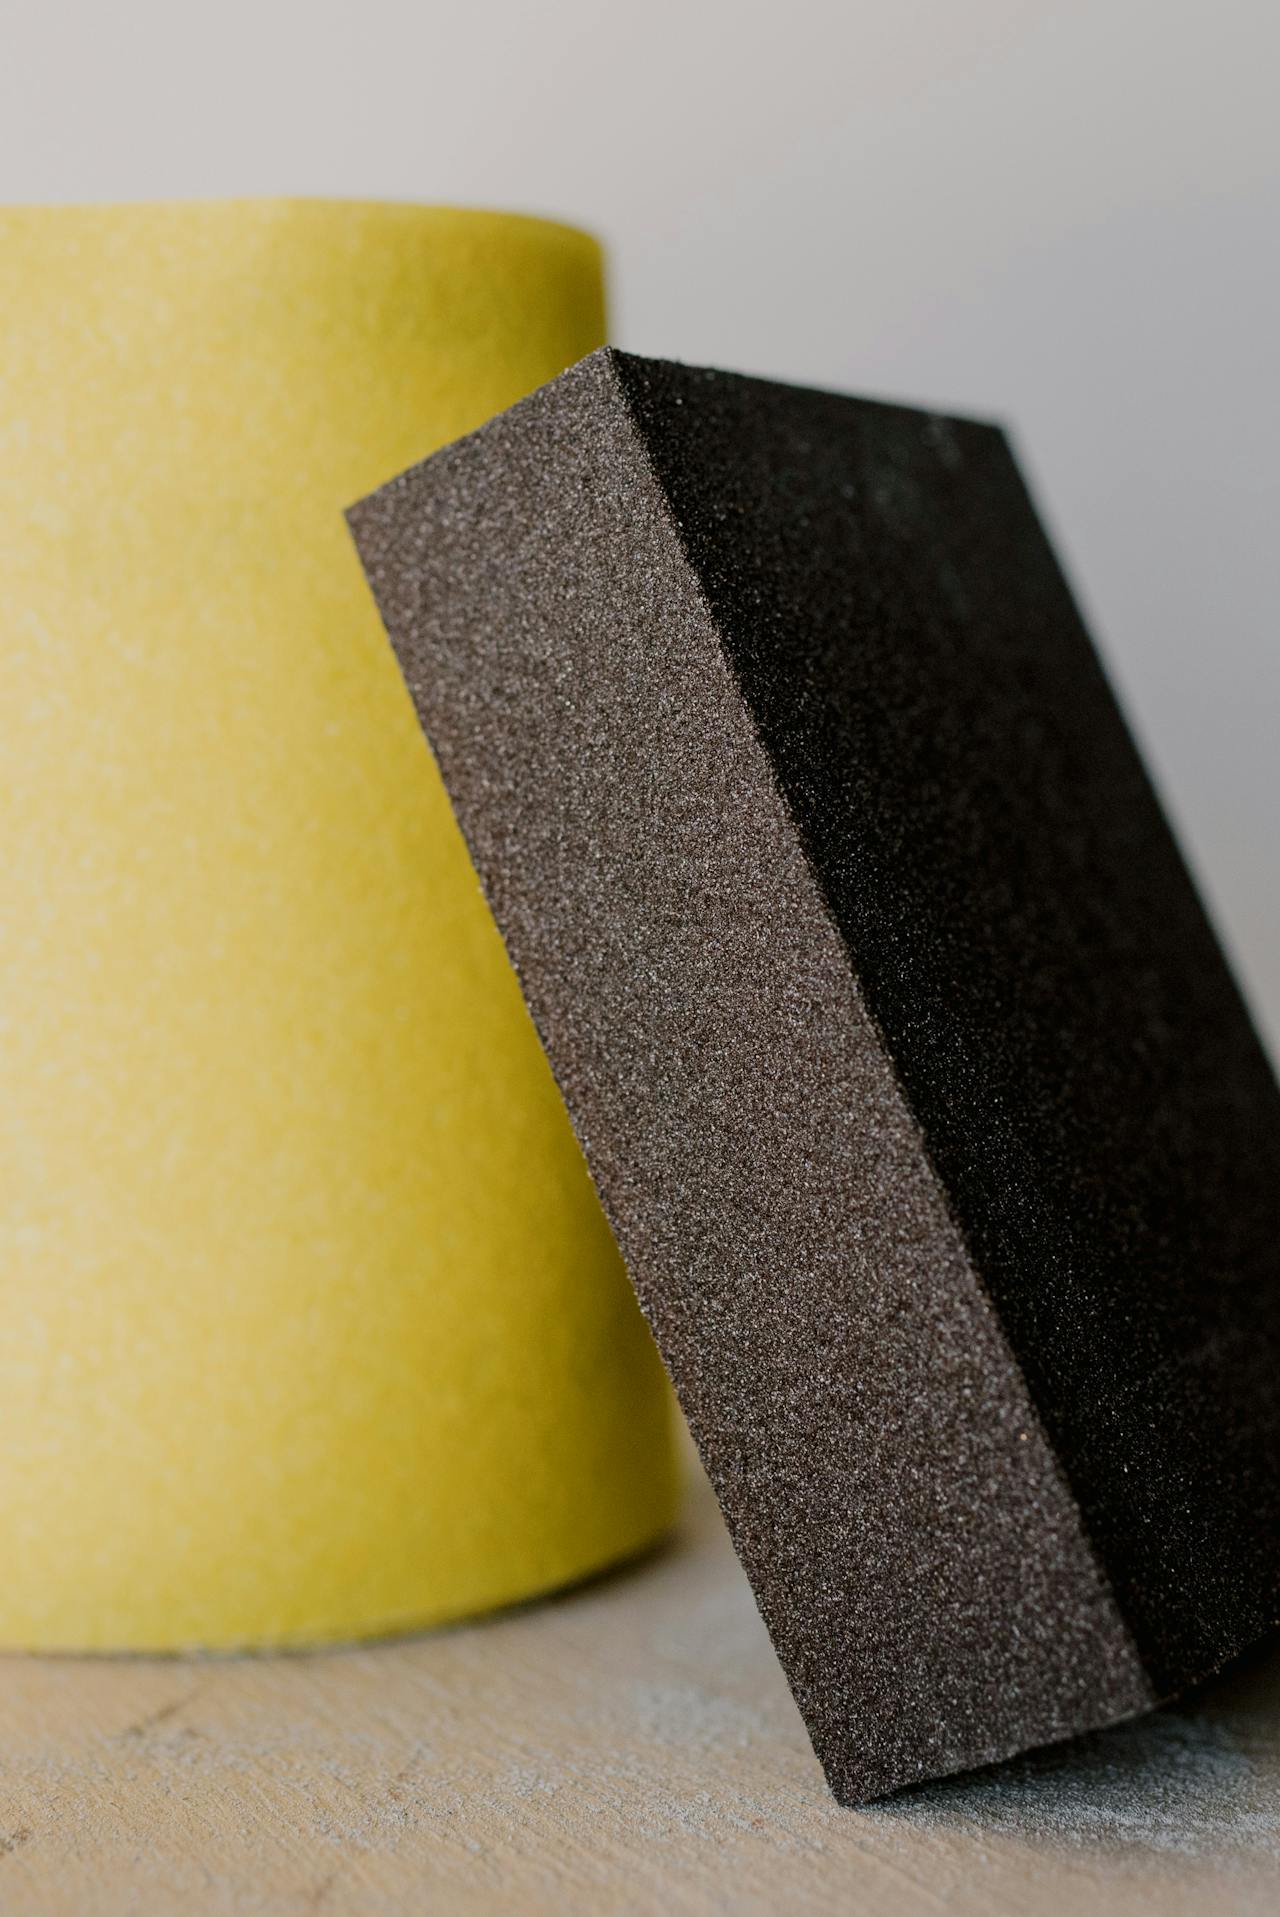
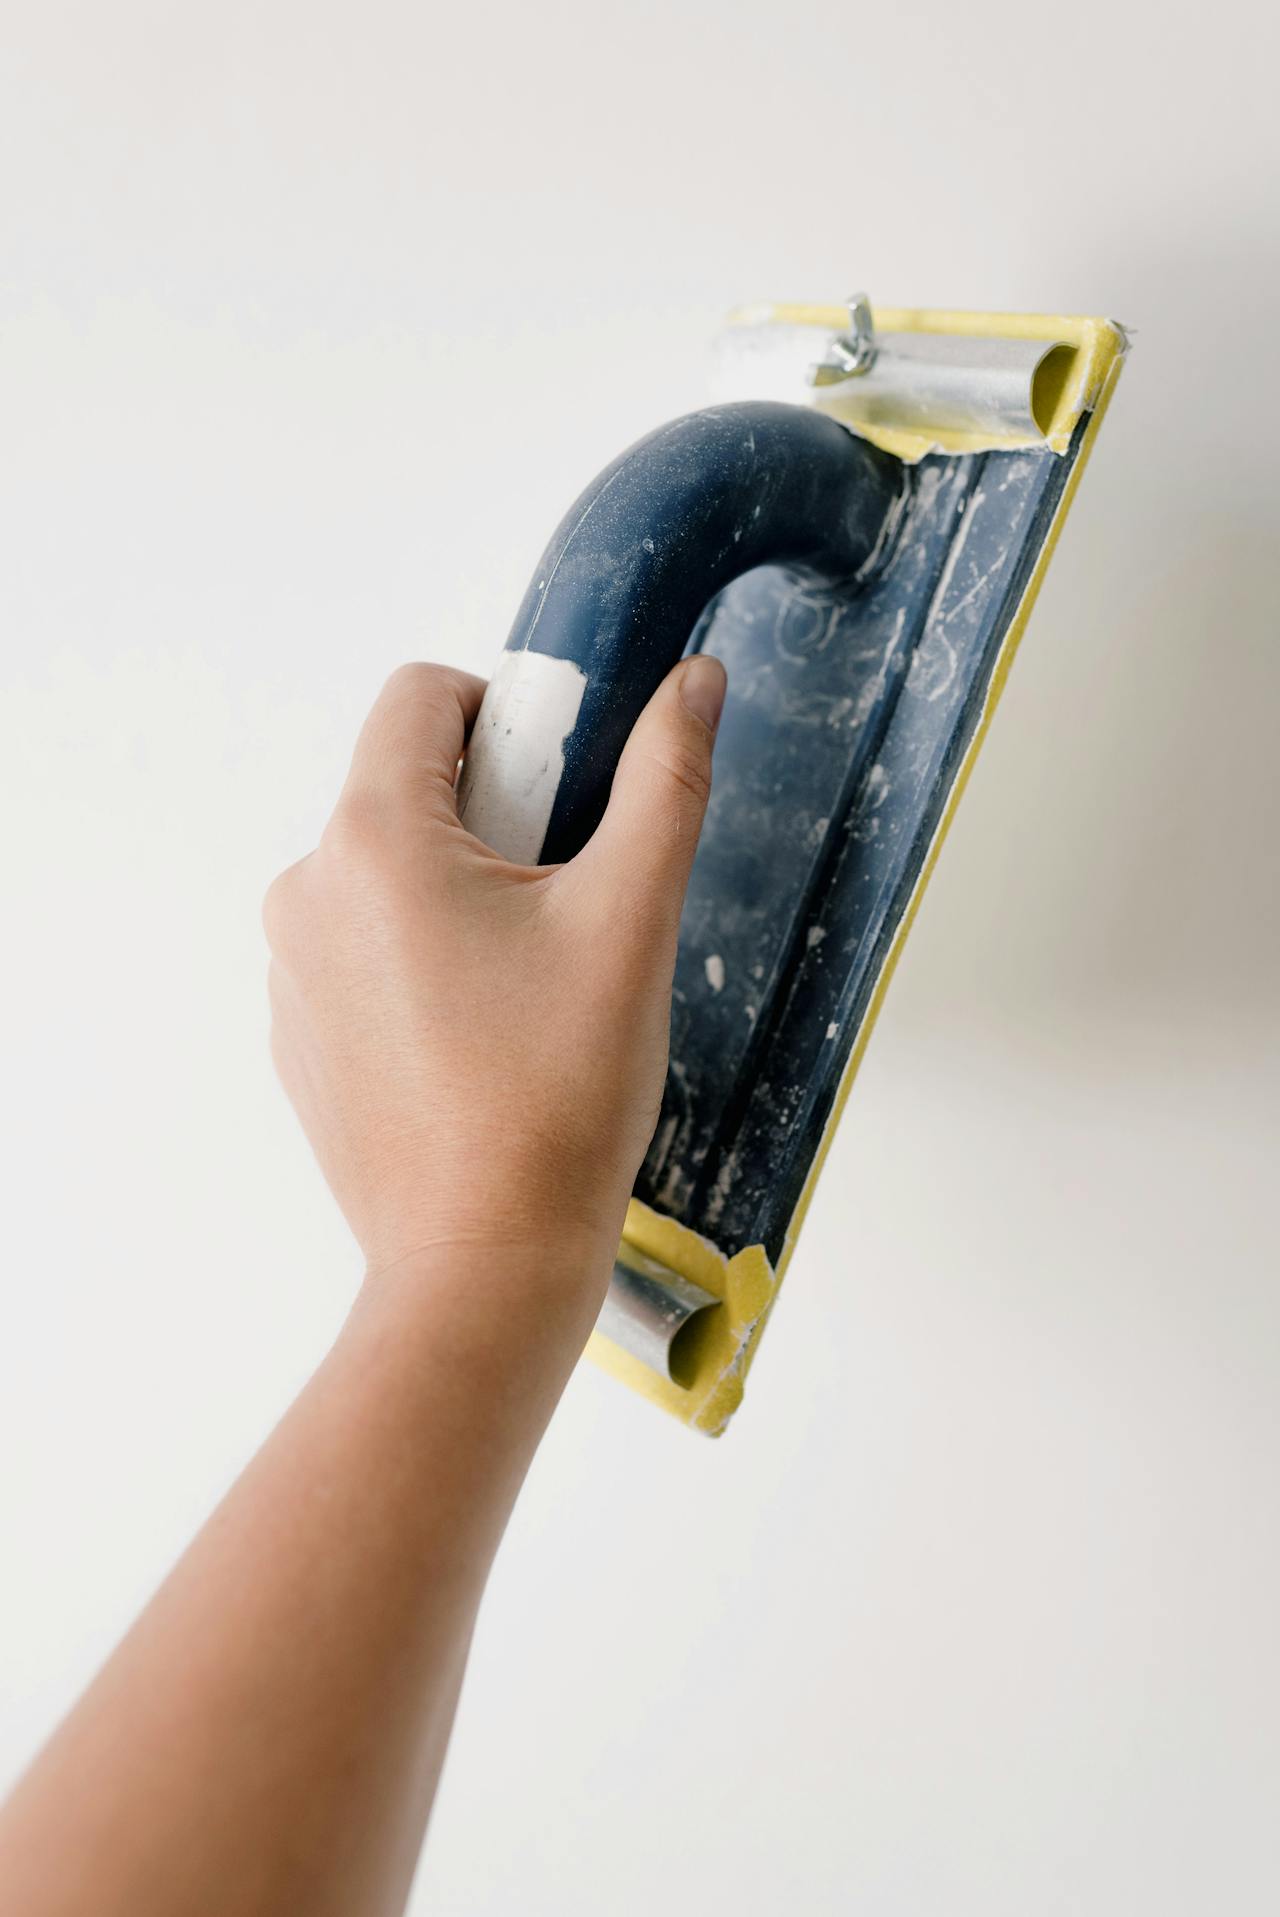
Sanding Sponge or Block
Useful for corners and smaller sections where precision matters.
Electric Drywall Sander
Faster and less physically demanding. Many models connect to a vacuum to reduce dust.
Vacuum or Dust Extraction System
Helps control airborne dust — one of the biggest challenges of ceiling sanding.

Preparing the Room (Don’t Skip This)
This step saves us from hours of cleanup later.
Before sanding, we should:
- Remove or cover furniture
- Lay down plastic sheeting or drop cloths
- Seal doorways with plastic
- Turn off HVAC systems temporarily
- Wear protective gear (mask, goggles)
Dust spreads fast. A few minutes of preparation makes a huge difference.
Choosing the Right Sandpaper Grit
The grit we use affects both the finish and the effort required.
General guidelines:
- 120–150 grit → smoothing drywall joints
- 150–180 grit → general surface prep
- 180–220 grit → final smoothing before painting
Starting too coarse can leave scratches. Starting too fine can make the job slow and ineffective.

Step-by-Step: Sanding a Ceiling the Right Way
1. Start With Light Pressure
We don’t need to push hard.
Let the sandpaper do the work. Too much pressure can create uneven spots or damage the surface.
2. Work in Sections
Divide the ceiling into manageable areas.
This helps maintain consistency and prevents missed spots.
3. Use Smooth, Even Motions
Move the sander in:
- Long, overlapping strokes
- Circular or cross-hatch patterns
Avoid staying in one spot too long.
4. Check Your Work Frequently
Step back and look at the surface from different angles.
Uneven areas are easier to spot before painting than after.
5. Clean Dust as You Go
If possible, vacuum or wipe surfaces periodically.
This improves visibility and prevents buildup.
How to Reduce Dust (The Biggest Problem)
Dust control is one of the most important parts of the process.
Here’s what helps:
- Use a sander with a vacuum attachment
- Sand gently to reduce airborne dust
- Keep windows open if possible
- Wear a proper dust mask or respirator
Dust is unavoidable — but it can be managed.

Common Mistakes to Avoid
Let’s make this easier on ourselves.
Sanding Too Aggressively
This can damage drywall compound or create dips.
Skipping Surface Inspection
If we don’t check our work, imperfections will show after painting.
Using the Wrong Grit
Too coarse leaves scratches. Too fine slows everything down.
Ignoring Fatigue
Ceiling work is physically demanding. Taking breaks helps maintain control and quality.
Pro Tip: Use Lighting to Spot Imperfections
A simple trick that makes a big difference:
Shine a light across the ceiling at an angle.
This highlights:
- Uneven areas
- Sanding marks
- Imperfections
It’s one of the easiest ways to improve the final result.
Is This Beginner Friendly?
Yes — with patience.
Ceiling sanding doesn’t require advanced skills, but it does require:
- Consistency
- Light pressure
- Good preparation
If we take our time, even beginners can achieve smooth, professional-looking results.
Conclusion
Best Way to Sand a Ceiling…
- Use a pole sander or drywall sander for reach and control
- Prepare the room to contain dust
- Choose the right sandpaper grit
- Work in sections with light pressure
- Use smooth, even sanding motions
- Check the surface frequently
- Manage dust with proper tools and protection
Sanding a ceiling might not be the most enjoyable DIY task — but it’s one of those steps that makes a huge difference in the final result.
With the right tools and a careful approach, we can turn a rough surface into a smooth, paint-ready finish without overwhelming ourselves with dust and frustration.
