
How to Sand Wood Without Sandpaper – Practical Alternatives for DIY Beginners
When we think about smoothing wood, sanding paper is usually the first thing that comes to mind. It’s almost automatic. But what happens if we don’t have sandpaper on hand? Or if we’re working on a small project, a delicate surface, or just want to try a different approach?
The good news is this: it’s absolutely possible to sand wood without sandpaper, and in many everyday situations, these alternatives work surprisingly well. As DIY beginners, renters, or homeowners tackling small fixes, we don’t always need perfect, workshop-level results. We need practical solutions that get the job done.
In this article, we’ll walk through realistic, accessible methods for smoothing wood without traditional sandpaper. We’ll explain how they work, when to use them, what to avoid, and how to get the best possible result with what you already have at home.
What Does “Sanding” Wood Really Mean?
Before we jump into alternatives, it helps to understand what sanding actually does.
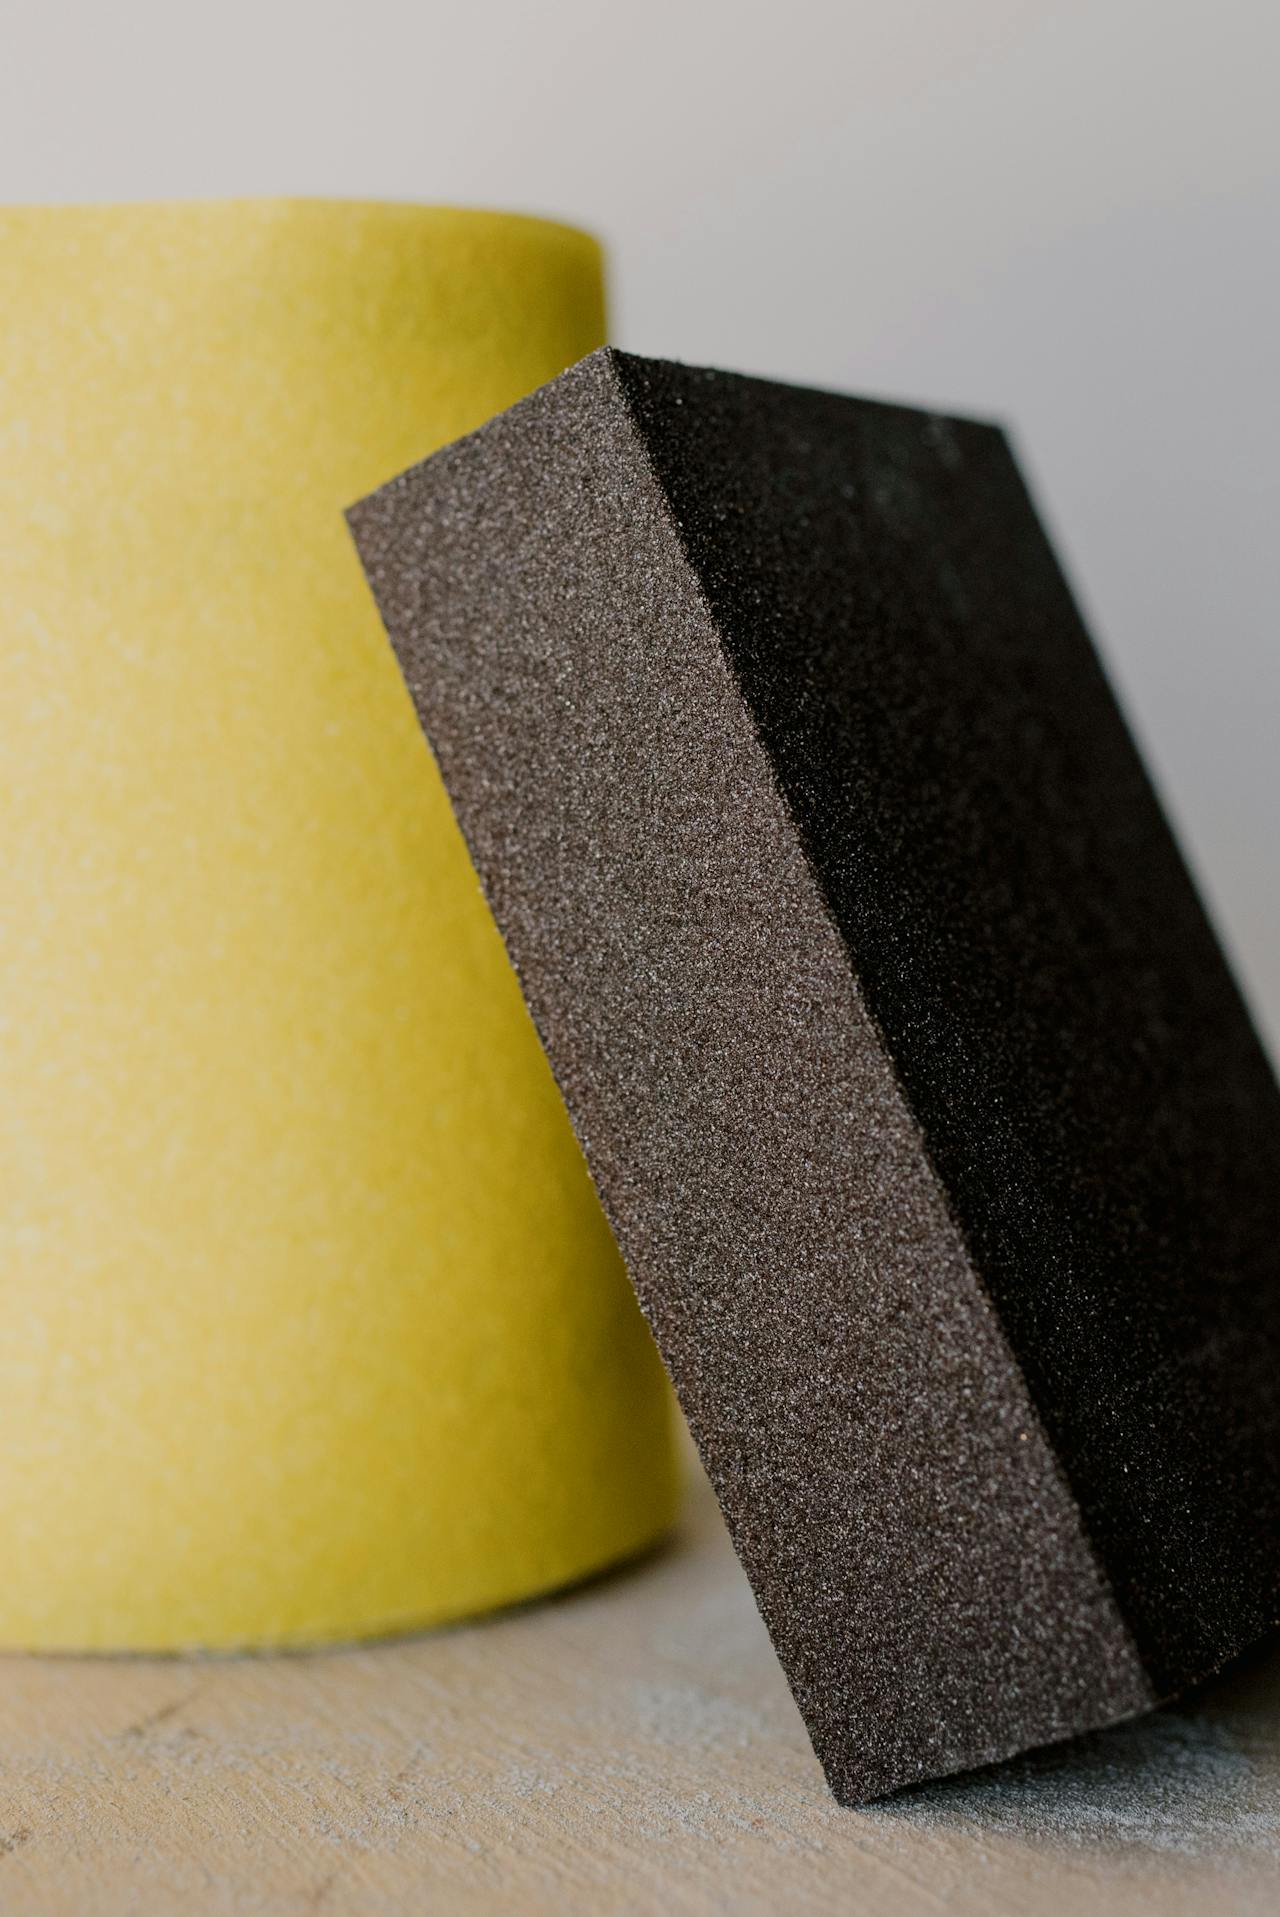
Sanding is not about magic. It’s simply controlled abrasion. We remove tiny fibers, splinters, and surface irregularities to make wood smoother to the touch and ready for finishing.
So when we talk about sanding wood without sandpaper, what we’re really asking is:
How can we gently wear down the surface of wood using other materials?
Once we see it this way, a whole range of everyday tools suddenly make sense.
Common Situations Where Sandpaper Isn’t an Option
This topic comes up more often than we might expect. For example:
-
We’re in the middle of a small repair and realize we’re out of sandpaper
-
We’re renting and don’t want dust everywhere
-
We’re smoothing a tiny edge, not a whole tabletop
-
We’re working on antique or soft wood that scratches easily
-
We just want a quick, low-effort solution
In these cases, alternatives aren’t shortcuts. They’re practical choices.

Household Alternatives That Can Smooth Wood
Using Steel Wool
Steel wool is one of the closest substitutes for sandpaper.
It works by gently abrading the surface and is especially useful for:
-
Light smoothing
-
Removing rough fibers
-
Finishing between coats
Why it works:
Steel wool conforms to the shape of the wood, making it great for curves and detailed areas.
What to watch out for:
-
Fine metal particles can remain on the surface
-
Not ideal for outdoor projects or wet areas
Using a Scraper or Flat Metal Edge
A simple scraper, or even a flat metal edge, can be incredibly effective.
Instead of scratching the surface, scraping cuts off tiny fibers, leaving wood surprisingly smooth.
Best for:
-
Flattening edges
-
Removing glue residue
-
Smoothing rough spots
This method takes a bit of control, but once we get the hang of it, the results can be cleaner than sanding.
Using a Pumice Stone
A pumice stone isn’t just for feet. It can also smooth wood when used carefully.
How it helps:
-
Light abrasion without deep scratches
-
Good for softwoods
We should always test first, because pumice stones vary in roughness.

Using a Nail File or Emery Board
Yes, really.
For small projects or tight spaces, nail files are surprisingly useful.
They’re perfect for:
-
Small edges
-
Craft projects
-
Minor splinter removal
They’re not fast, but they’re precise.
Using a Piece of Denim or Canvas
Fabric might sound strange, but heavy cloth like denim or canvas can smooth wood fibers, especially on softwood.
This works more like burnishing than sanding. It doesn’t remove much material, but it can noticeably improve the feel.
Best used for:
-
Final smoothing
-
Touch-ups
-
Already fairly smooth surfaces
Using a Brown Paper Bag
This is one of the simplest tricks, and it actually works.
A plain brown paper bag can:
-
Knock down raised fibers
-
Smooth between finishes
-
Remove fuzziness
It won’t fix deep scratches, but for light smoothing, it’s surprisingly effective.
How to Choose the Right Method
Not every alternative works for every situation. Before we start, we should ask ourselves a few simple questions:
-
Is the wood rough or just slightly uneven?
-
Are we working on a flat surface or a detailed area?
-
Do we need to remove material or just smooth fibers?
A quick guideline
-
Rough wood: scraping or pumice
-
Light smoothing: steel wool or nail file
-
Final touch: fabric or paper bag

Common Mistakes and Myths
“Any rough material will work”
Not true.
Some materials can tear wood fibers instead of smoothing them, leaving the surface worse than before.
“Pressing harder gives faster results”
This usually backfires. Too much pressure:
-
Creates uneven spots
-
Leaves scratches
-
Damages soft wood
Gentle, consistent movement is far more effective.
“These methods replace sanding completely”
They don’t always. For large furniture or major refinishing, traditional sanding still has its place. These alternatives shine in small-scale, practical DIY situations.
Practical Tips for Better Results
Always Work With the Grain
This matters just as much as it does with sandpaper.
Going against the grain:
-
Raises fibers
-
Creates visible marks
-
Makes surfaces feel fuzzy
Clean the Surface First
Dust, grit, and debris can cause scratches. A quick wipe before starting makes a big difference.
Test on a Hidden Area
Wood types vary, and so do results. A small test saves frustration later.
Take Breaks and Check Progress
It’s easy to overdo it. Stop occasionally, run your hand over the surface, and reassess.

When These Methods Work Best
These techniques are especially helpful for:
-
Small DIY repairs
-
Craft projects
-
Furniture touch-ups
-
Edge smoothing
-
Between finishing steps
They’re not about speed. They’re about control and practicality.
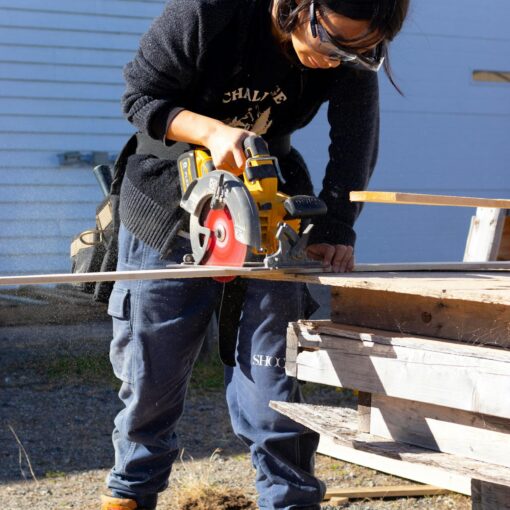
When We Should Still Use Sandpaper
Let’s be honest. There are times when sandpaper is simply the right tool.
For example:
-
Large surfaces
-
Heavy paint removal
-
Major leveling
Knowing alternatives doesn’t mean ignoring the basics. It just means we have options.
Conclusion
Learning how to sand wood without sandpaper gives us flexibility. It helps us adapt, improvise, and keep projects moving even when we’re missing a tool.
More importantly, it reminds us that DIY isn’t about having the perfect setup. It’s about understanding materials and working with what we have.
And often, that’s more than enough.
Quick Summary
-
Sanding is controlled abrasion, not just sandpaper
-
Many household items can smooth wood effectively
-
The right method depends on the task and surface
-
Gentle pressure and patience matter most
-
These techniques are ideal for small, practical DIY projects
With a bit of practice, we’ll be surprised how far these simple alternatives can take us.

