
Why Do My Drill Bits Keep Stripping?
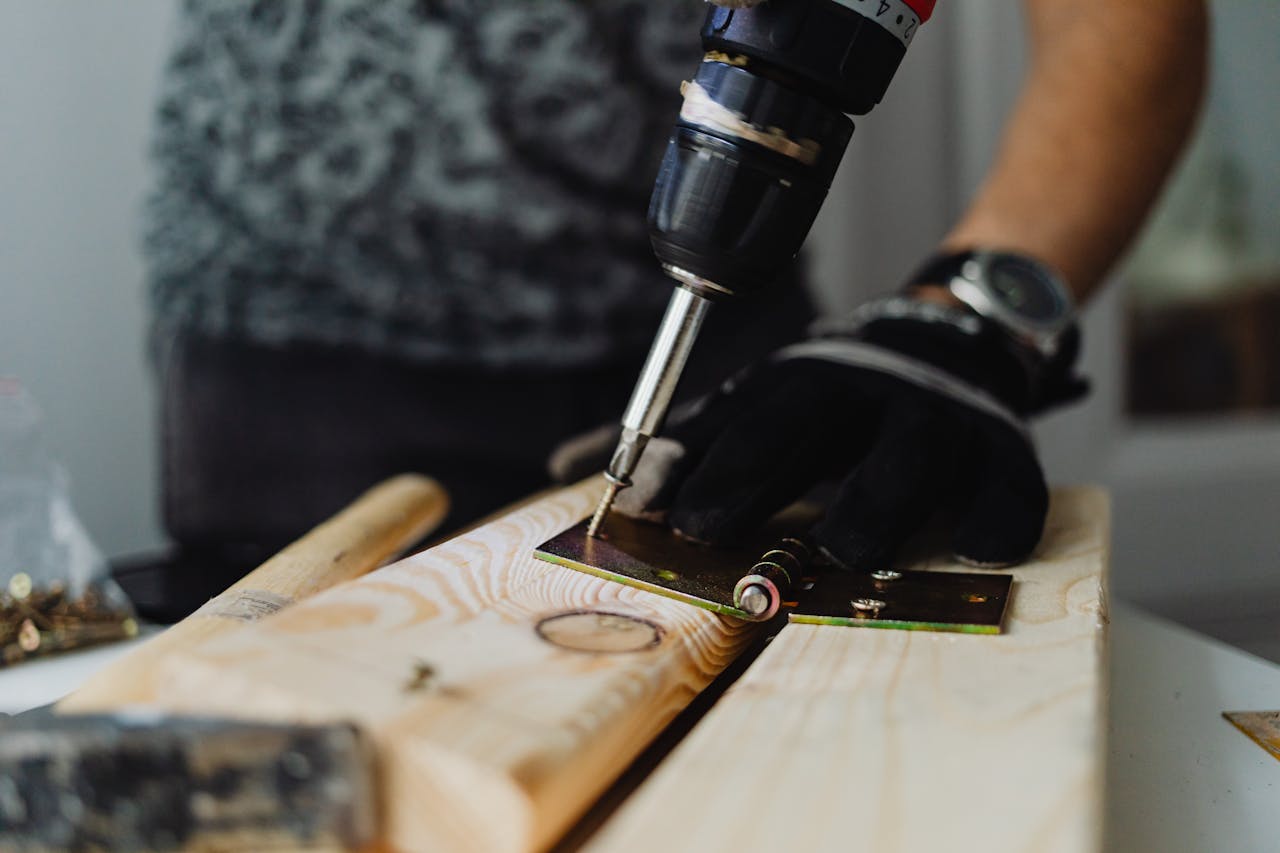
We’ve all been there. We line up the drill, apply a bit of pressure, pull the trigger… and instead of a clean hole or a snug screw, we hear that awful sound. The drill bit spins. The screw head chews itself up. Progress stops.
At that moment, the question pops into our heads: why do my drill bits keep stripping?
The frustrating part is that it often feels random. One day everything works fine, the next day nothing does. But the truth is, stripped drill bits and stripped screws usually come down to a handful of very specific causes. And once we understand them, most of these problems are easy to avoid.
In this article, we’ll break the issue down in plain language. No technical overload, no product pitches. Just clear explanations, common mistakes, and practical advice you can actually use the next time you pick up a drill.
What Does “Stripping” Actually Mean?
Before we go further, let’s clear up a common point of confusion.
When we say a drill bit is “stripping,” we’re usually talking about one of two things:
-
The screw head gets damaged, so the bit can no longer grip it
-
The bit itself slips or wears down, rounding off instead of biting in
In both cases, the result is the same. The drill spins, the screw doesn’t move, and the job stalls.
Understanding which part is failing — the bit, the screw, or the technique — is the first step toward fixing the problem.
The Most Common Reasons Drill Bits Keep Stripping
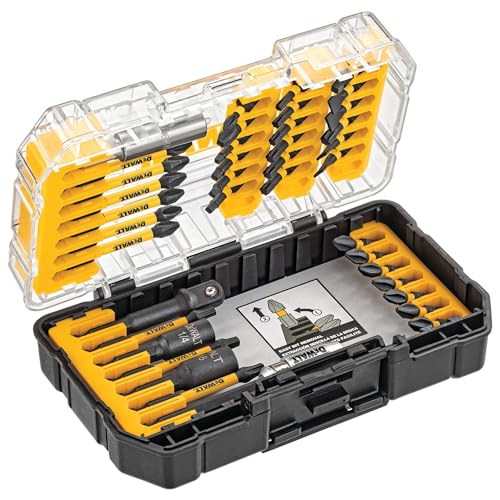
Using the Wrong Type of Bit
One of the biggest culprits is also the simplest: the bit doesn’t match the screw.
Screws come in different head styles, and even small mismatches matter. A bit that’s slightly too small or the wrong shape won’t seat properly. At first it might seem fine, but as soon as resistance increases, the bit slips and starts grinding away at the screw head.
Over time, this damages both the screw and the bit.
Key takeaway:
If the bit doesn’t fit snugly with almost no wiggle, it’s not the right one.
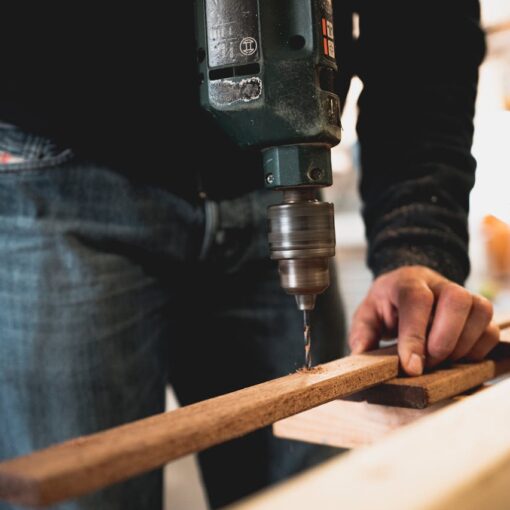
Poor Alignment
Angle matters more than we think.
If the drill isn’t held perfectly straight in line with the screw, the force gets unevenly distributed. Instead of pushing straight down into the screw head, part of the force goes sideways. That sideways pressure encourages slipping.
This is especially common when we’re working:
-
In tight corners
-
Overhead
-
At awkward angles near walls or cabinets
Even a slight tilt can be enough to cause stripping.
Too Much Speed, Not Enough Control
It’s tempting to pull the trigger hard and fast. After all, drills are powerful, and speed feels efficient.
But high speed is often the enemy here.
When the drill spins too fast:
-
The bit doesn’t have time to grip
-
Heat builds up quickly
-
The bit can skate across the screw head
Once the head starts rounding out, it’s game over.
Slower, controlled speed gives the bit time to bite and stay seated.
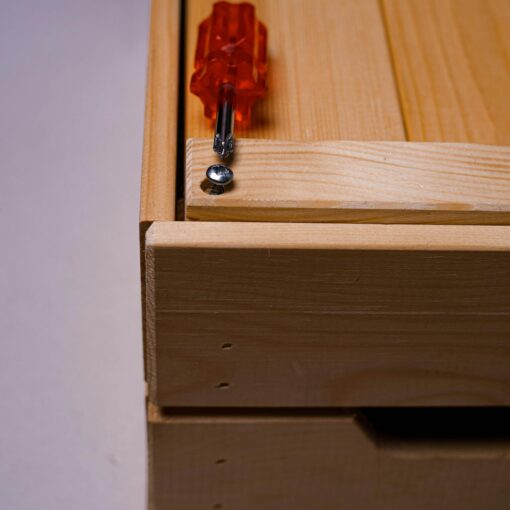
Applying the Wrong Amount of Pressure
Pressure is a balancing act.
-
Too little pressure, and the bit skips
-
Too much pressure, and the bit can cam out or damage the screw
Many of us instinctively push harder when the screw resists. Ironically, that often makes stripping happen faster.
The goal is steady, firm pressure — not forcing the drill to overpower the screw.
Worn or Low-Quality Bits
Drill bits don’t last forever.
Over time, the edges that grip the screw wear down. When that happens, even the correct bit size can start slipping. The change is gradual, so we often don’t notice until stripping becomes a regular problem.
If a bit looks rounded, shiny, or uneven at the tip, it’s probably past its prime.
Driving Screws Into Tough Materials
Some materials fight back more than others.
Hardwoods, dense composites, metal, and old framing can all create extra resistance. When we try to drive a screw straight into these materials without preparation, the stress transfers to the screw head and bit.
That’s when stripping shows up, even if everything else seems right.
Common Myths That Make the Problem Worse
“More Power Will Fix It”
This is one of the most damaging assumptions.
Cranking up torque or speed doesn’t improve grip. In many cases, it does the opposite. The bit loses contact faster, and the screw head wears down even quicker.
Control almost always beats raw power.
“All Screws Are Basically the Same”
They’re not.
Different screws are designed for different tasks and materials. Some are softer, some harder. Some are more forgiving, others less so.
Using a screw that isn’t suited to the job increases resistance, which increases the chance of stripping.
“It’s Just Bad Luck”
Stripping feels random, but it rarely is.
When drill bits keep stripping over and over, there’s almost always a pattern. Once we identify it — wrong bit, bad angle, too much speed — the problem usually disappears.
Practical Tips to Stop Drill Bits From Stripping
Take a Second to Check the Fit
Before pulling the trigger, insert the bit into the screw and give it a slight twist by hand.
-
Does it sit deep?
-
Does it feel stable?
-
Is there noticeable play?
If the answer to the last question is yes, swap the bit.
That ten-second check can save minutes of frustration later.
Slow Down on the Start
Start the drill at low speed and let the bit fully seat into the screw head.
Once the screw begins to move smoothly, we can increase speed slightly. But the first second or two is critical. That’s when stripping most often begins.
Keep the Drill Straight
It helps to:
-
Brace your arms against your body
-
Use your free hand to steady the drill if needed
-
Adjust your stance so you’re pushing straight in, not at an angle
If the position feels awkward, it’s often worth repositioning yourself rather than forcing the drill to work at a bad angle.
Let the Tool Do the Work
We don’t need to muscle the drill.
A steady, moderate pressure combined with the right speed usually works better than forcing it. If the screw won’t move, stop and reassess instead of pushing harder.
Pre-Drill When Needed
For harder materials, pre-drilling a pilot hole can make a huge difference.
A pilot hole:
-
Reduces resistance
-
Keeps the screw straight
-
Minimizes stress on the screw head and bit
This single step prevents a large percentage of stripping issues.
Know When to Replace a Bit
If a bit:
-
Slips even with correct technique
-
Shows visible wear
-
Has stripped multiple screws
…it’s time to retire it.
Holding onto worn bits often costs more time and frustration than replacing them.
Extra Situations Where Stripping Is More Likely
Working Overhead
Gravity works against us. The drill tends to drift, and alignment suffers. Slower speed and extra attention to angle help here.
Old Screws or Hardware
Older screws may already be weakened or partially stripped. Even perfect technique won’t always save them.
Small Screws
Smaller screw heads leave less room for error. Precision matters more, and gentle control becomes essential.
Quick Troubleshooting Checklist
If your drill bits keep stripping, pause and ask ourselves:
-
Is this the correct bit type and size?
-
Am I holding the drill perfectly straight?
-
Am I starting at low speed?
-
Is the bit worn or damaged?
-
Should I pre-drill this material?
Answering these questions usually reveals the issue right away.
