
How to Drill Without a Drill – What Can We Do When We Don’t Have One?
Sooner or later, we all end up in a situation where we need to make a small hole, but there’s no drill in sight. It broke, we lent it out, or maybe we never owned one in the first place. And that’s when the question comes up: is it actually possible to drill without a drill?
The short answer is: yes, in certain cases.
The longer answer is: it depends on what you’re drilling into, what size hole you need, and how precise it has to be.
In this article, we’ll walk through practical ways to drill without a power drill, which methods really work, when it’s worth trying, and when it’s better to choose a different solution. This is written from a completely everyday, non-professional point of view—for beginners, renters, and casual DIYers.
When Does It Make Sense to Drill Without a Drill?
This approach doesn’t work in every situation, so it’s important to start with realistic expectations.
Drill-free methods can work if:
-
you’re working with thin materials
-
the surface is relatively soft
-
you only need a small hole
-
the hole isn’t structural or load-bearing
Typical materials where this can work:
-
wood
-
drywall
-
thin plastic
-
very thin metal sheets (with extra care)
Concrete, brick, or thick metal?
Those almost always require a proper drill. No shortcuts there.
Basic Principles Before You Start
Before trying any alternative method, there are a few things we should always keep in mind.
Safety matters more than speed.
Since we’re not using professional tools:
-
secure the material properly
-
work slowly and deliberately
-
use gloves if needed
-
keep your fingers out of harm’s way
One more thing: not all holes are created equal. Sometimes a tiny opening is enough. Other times, you need a clean, precise hole for mounting. That choice will determine which method makes sense.
1. Screw and Hand Screwdriver – The Simplest Solution
This is one of the most common and practical options.
How does it work?
By slowly driving a sharp screw into the material with a manual screwdriver, we’re essentially creating a hole through pressure and rotation.
When does it work well?
-
wood
-
drywall
-
thin furniture panels
Step by step:
-
Mark the spot where the hole should go
-
Hold the screw straight and perpendicular
-
Turn slowly with steady pressure
-
Once the hole is formed, back the screw out
Pros: simple, almost everyone has the tools
Cons: tiring for thicker materials, limited precision
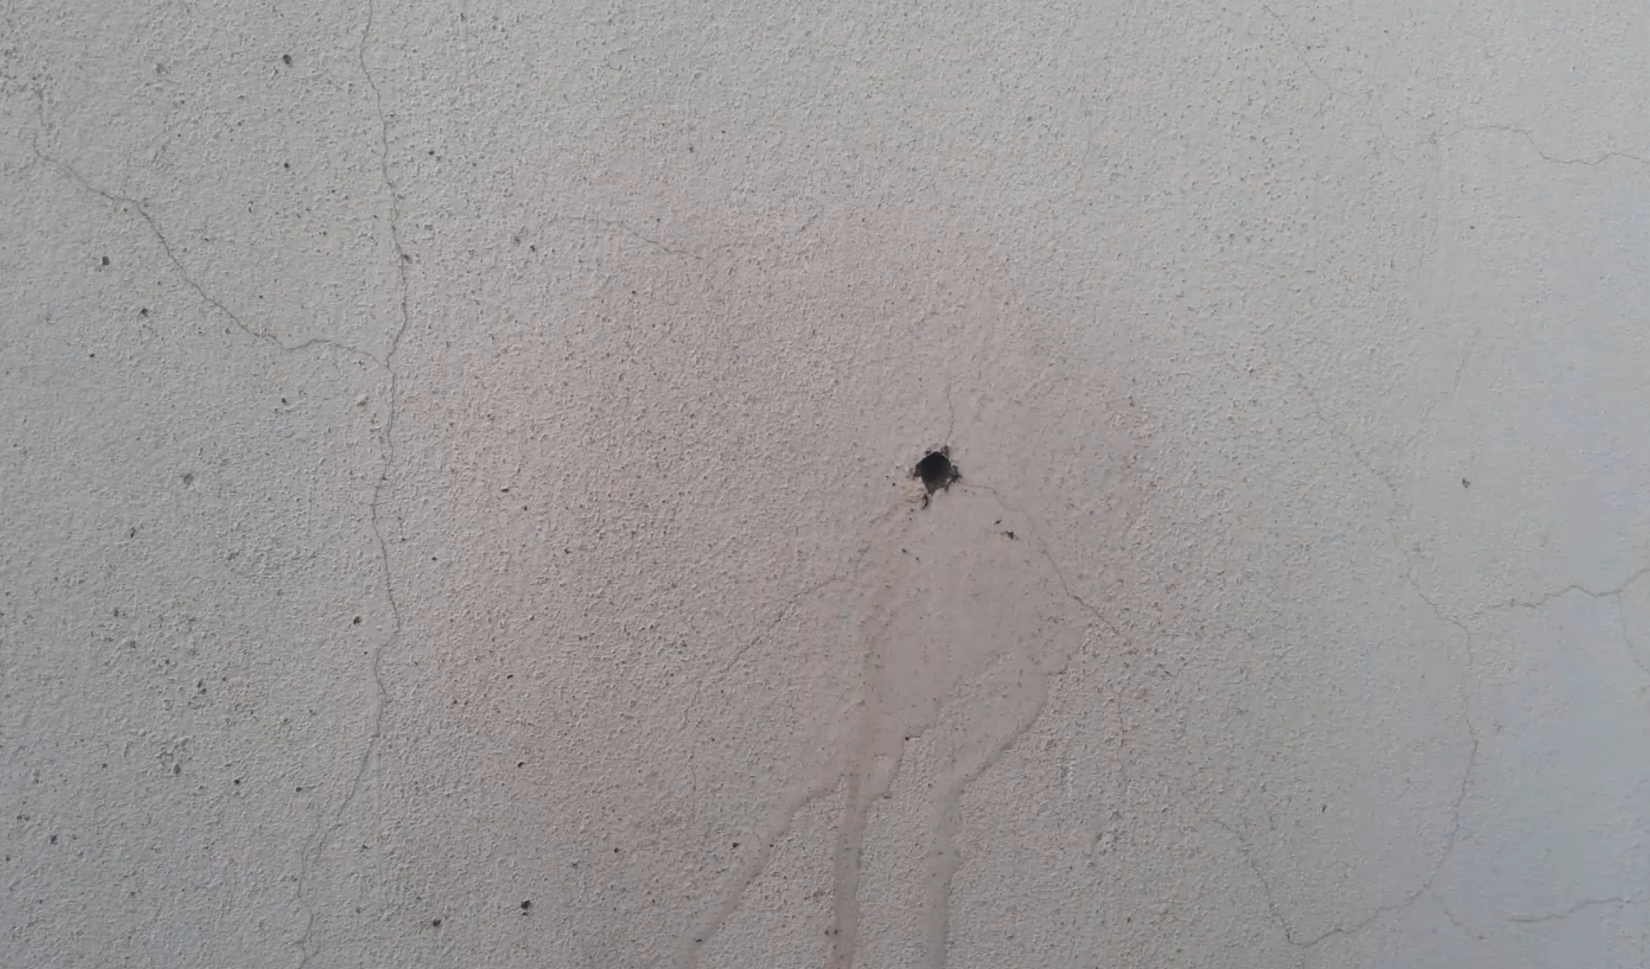
2. Nail and Hammer – A Controlled “Mini Hole”
This method sits somewhere between drilling and punching, but it works surprisingly well for small holes.
Best used for:
-
soft wood
-
thin slats
-
temporary or non-critical fixes
How to do it:
-
choose a thin nail
-
gently tap it through the material
-
pull the nail back out if you only need the hole
Important: don’t hit too hard—wood can crack easily.
It’s not pretty, but it’s fast and effective when appearance isn’t a priority.
3. Heated Metal – For Plastic and Very Thin Materials
This one sounds unusual, but it does work in the right context.
The idea:
Use a heated metal object (like a thick wire or pointed metal rod) to melt through the material and create a hole.
Only try this if:
-
you’re working with plastic
-
appearance isn’t critical
-
the area is well ventilated
Be careful: melting plastic can release fumes, so take proper precautions.
This is very much an emergency solution, but in some cases it’s surprisingly effective.
4. Manual Hand Drill or Crank-Style Tools
If you don’t have a power drill but do have a hand-powered drilling tool, you’re in luck.
Why these help:
-
more control than a screw
-
better precision
-
no electricity required
They work well for wood and thin metal, though they require patience and steady hands.
Common Mistakes and Misconceptions
“You can drill anything without a drill”
Not true. Some materials simply won’t cooperate.
“If I push harder, it’ll work”
Usually the opposite happens:
-
tools break
-
materials get damaged
-
the risk of injury increases
“The result will be the same”
It won’t be. These are workaround solutions, not full replacements for proper drilling.
Practical Tips to Avoid Frustration
Start with the smallest hole possible.
You can always widen it later if needed.
Mark the spot first.
A small indentation helps keep tools from slipping.
Take breaks.
Forcing the process usually makes things worse.
Know when to stop.
Walking away is sometimes the smartest move.
When It’s Better to Choose a Different Approach
Drilling isn’t always the only option.
Consider alternatives like:
-
adhesive mounting solutions
-
removable hooks
-
clamp-based supports
-
freestanding fixtures
These can be simpler, cleaner, and more renter-friendly, especially in apartments.
Know Your Material – Why Surface Identification Matters More Than the Tool
-
Before we try any drill-free method, it’s worth taking a moment to identify exactly what we’re working with. This step alone can save time, frustration, and a lot of unnecessary damage.
At first glance, many surfaces look similar, but they behave very differently once we start applying pressure.
Why this matters
Drilling without a drill relies heavily on controlled force. If we misjudge the material:
-
the tool may slip
-
the surface can crack or splinter
-
the hole may end up uneven or useless
Knowing the material helps us choose the right workaround, not just a workaround.
Common surfaces people misidentify
-
Painted drywall vs. solid wood – drywall gives in quickly, wood resists
-
Laminate vs. real wood – laminate chips easily if rushed
-
Plastic vs. thin metal – plastic melts, metal resists heat
A quick tap, scratch test in a hidden spot, or checking the edge of the surface can tell us a lot.
Simple preparation steps that make a big difference
Even without a drill, a little prep goes a long way:
-
clean the surface so tools don’t slip
-
mark the spot clearly
-
create a tiny starter dent with a sharp object
-
support the back of thin materials to prevent tearing
These small steps don’t require extra tools, but they dramatically improve the result.
Why beginners benefit the most from this approach
Most failed attempts happen not because the method is wrong, but because the material wasn’t understood first. Once we slow down and read the surface, even basic tools become far more effective.
-

